|
By Dave and Mary
Hang Porch Lights
for Awesome Curb Appeal
Swapping Out a Ceiling Light for a Pendant Light
Knowing how to hang porch lights can save you money and change the overall look of your front porch.
It is fairly easy to do in most cases as long you adhere to safety rules regarding electrical connections.
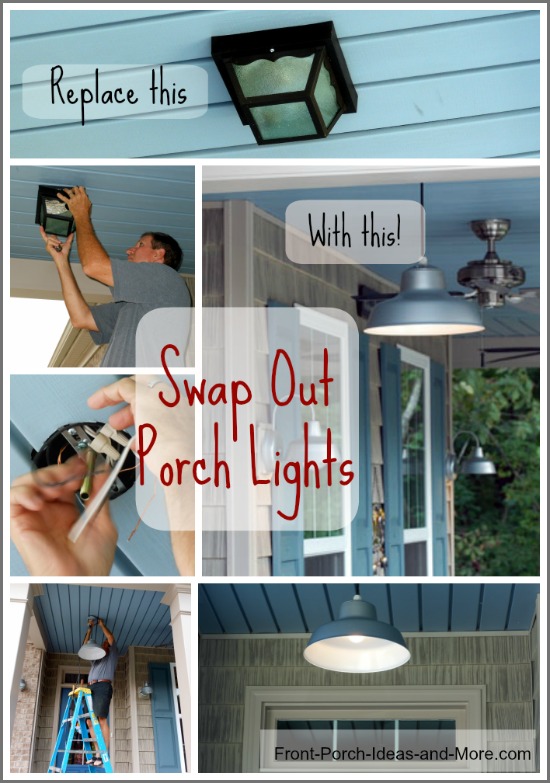
Mary and I will show you how to replace an existing flush mounted porch ceiling light with a pendant (or hanging) light.
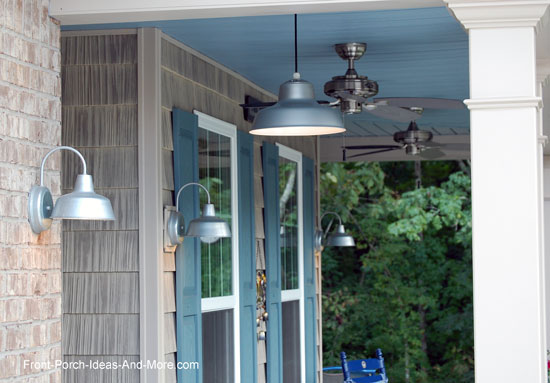
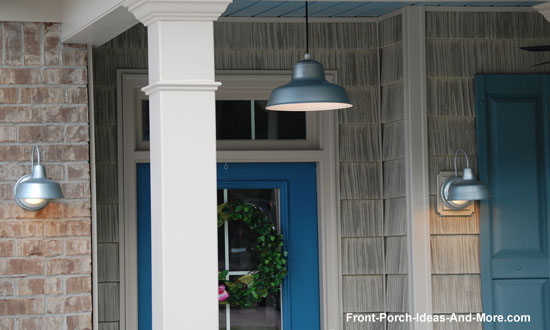
We chose barn-style lights for our porch and found a nearly matching pendant light to coordinate with our wall lights.
Whether you are hanging a pendant light or just replacing your existing light with a similar style, the process is basically the same.

From a standard ceiling porch light to a charming barn-style pendant light

Our new pendant light looks great with our barn porch lights and ceiling fans
If you are building a porch, we recommend you use our Porch Electrical Systems Guide
which will help you determine all of your porch's electrical needs.
If adding an additional light remember that you can only use, by code, up to 80% of electrical circuit's maximum capability.
Anything over that and you risk an overload.
I am not a certified electrician but I do have formal education in electrical wiring and have many years of experience.
The following information is provided as "general guidelines only" for knowing
how to replace a porch light and is not to be construed as step-by-step procedures. If you are not comfortable
working around electrical wiring, consult with a licensed electrician before beginning any work.
Safety is First When Hanging Porch Lights
The first and foremost rule of knowing how to replace porch lights is to:
Turn off the power to the light before attempting any modifications!
You may want to review our Electrical Codes and Electrical Modifications Guides.
A word to the wise. Never, ever, do any electrical work you are not 110% sure you can do correctly. Always consult with a certified electrician.
Now Let's Hang Our Porch Lights
Most porches are constructed, unless the owner specifies otherwise, with standard flush mounted ceiling lights.
In most cases, these can easily be replaced with more aesthetically pleasing lights that will definitely add personality to
your porch. Mary and I often receive compliments on our barn lights.

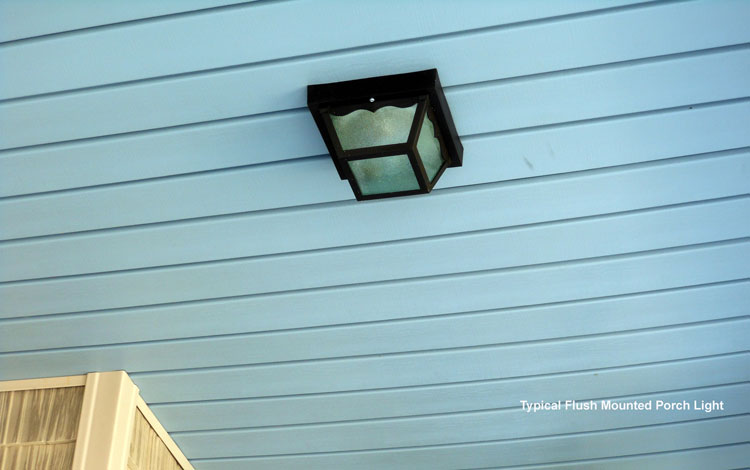
Typical flush mounted front porch light
Step 1
When you are going to hang porch lights, be sure to turn off the power to the lights. Check to make sure it is really off!
Step 2
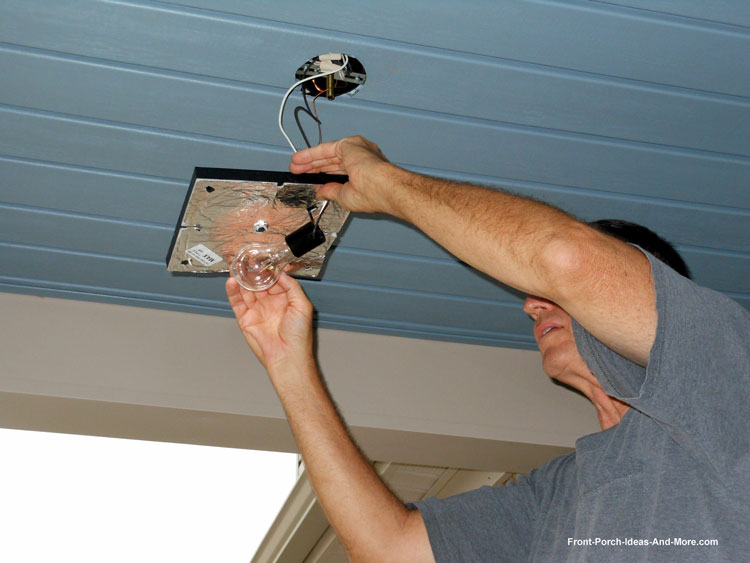
Remove the existing exterior ceiling porch light fixture. Disconnect the wires of the light from the wires on the branch circuit.

Removing flush mounted porch ceiling light

Based on the design of your existing ceiling light fixture and your new fixture, you may have to remove the nipple.
You may or may not have to do this part of the step.
Step 3
Follow the instructions that came with your new light to prepare it for installation.
Part of knowing how to hang porch lights involves sometimes deciphering light wiring instructions.
Be patient and refer to their drawings (if available) often.
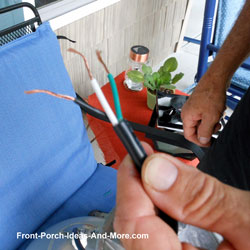
In our case, we had to pre-wire the pendant light and determine how far above the floor it should hang.
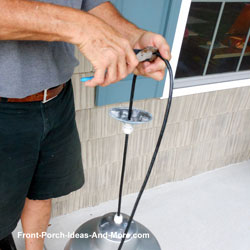
 Once we determined that, I cut the pendant cord to an appropriate length and stripped the ends of the wires to attach to the branch circuit wires as shown below.


Step 4
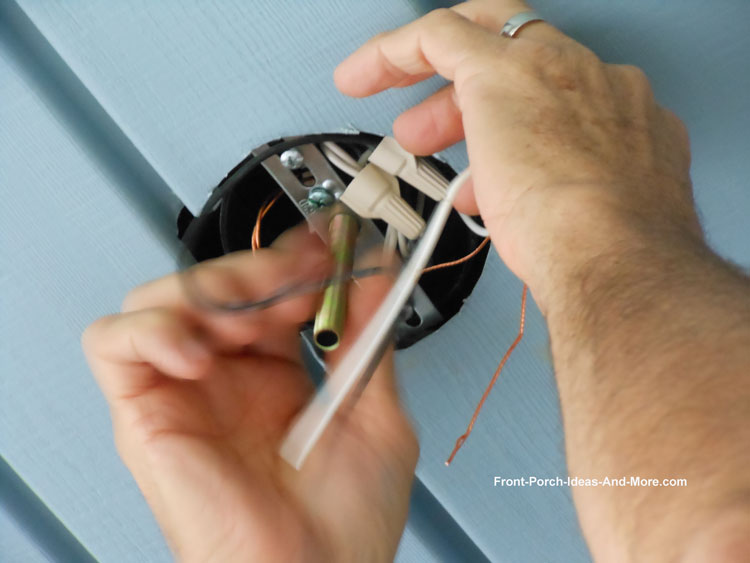
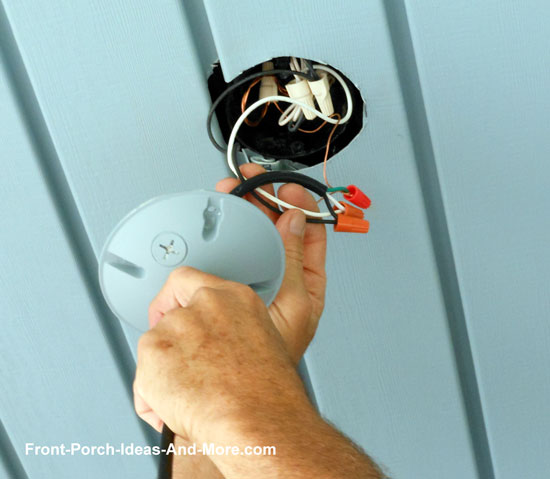
Attach the pendant wires to the branch circuit wires; use wire nuts to secure wires.
- Black to Black
- White to White
- Ground to Grounding Screw (green wire to bare copper wire in most cases which is in turn attached to
a green grounding screw in electrical box)

Attach the wires
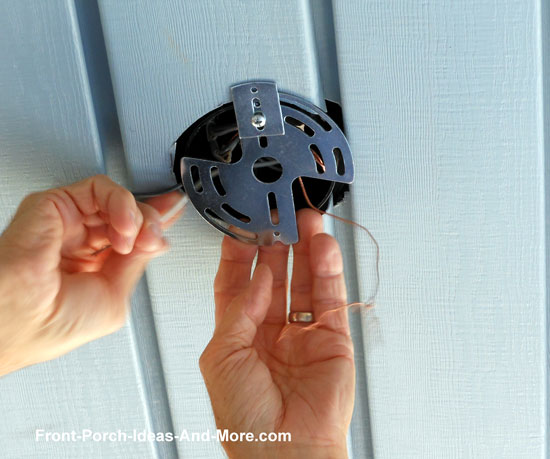
Ran into an issue and you may too! The new light fixtures base was wider than that of the box.
The mounting holes did not align and therefore I could not attach the light fixture to the box.
If you run into a similar situation, don't fret.
If you do not have this issue skip to Step 5 below.
Off to Home Depot you go to purchase an extender as shown below.
This allows you to expand the box's holes to fit a variety of fixtures.
To install the device I had to disconnect the wires and reconnect them after I installed the extender.

Great device when holes don't line up!
Hang Porch Lights - Attach the Fixture
Step 5
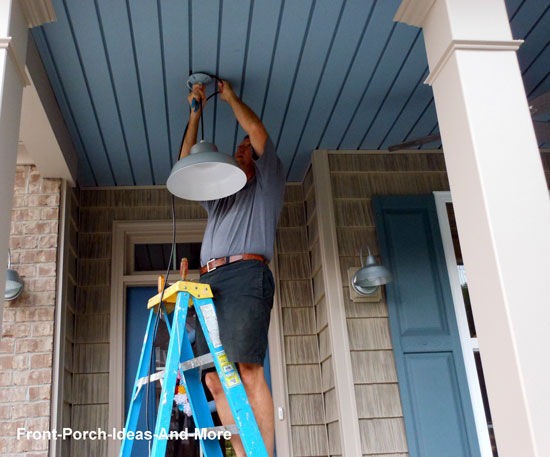
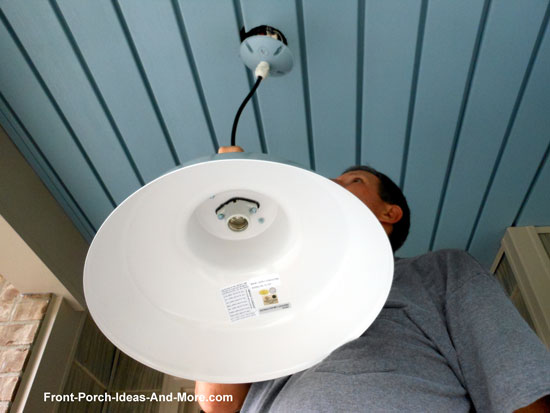
Attach the outside porch light fixture to the electrical box ensuring all wires are tucked neatly into box.

Attaching pendant light fixture to box
Step 6
Install an appropriate light bulb and turn on the power.

We really like our new pendant porch light
Now that you know how to hang porch lights you can apply the same knowledge to other lights in your home.
And again, if you are not sure contact a licensed electrician.
Paint Your Porch Lights
Years later, Mary and I decided to give our porch lights a face lift.
At first, we were contemplating getting new lights but decided to give them a face lift instead since they were in fine working order and we still liked the style.

Our lights before painting
The process was easy and it yielded some surprises as well!
 Mary achose the color since she is the artist in our family and colors aren't my thing.
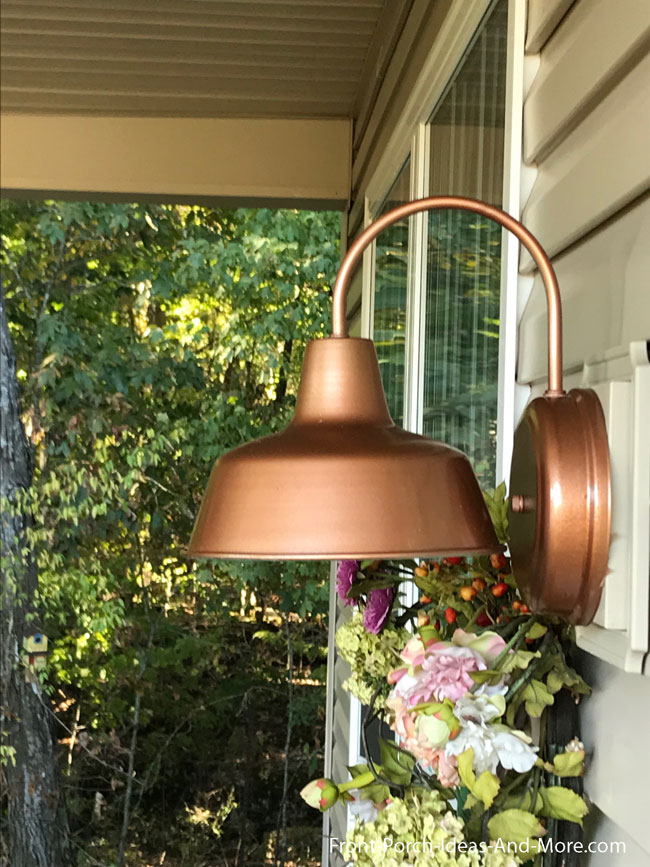
We went with a Rust-Oleum® Hammered copper spray paint that goes well with our home's color scheme.
There is no easy (or safe) way to paint electrical lights while attached to the home.
To test the process, I decided to paint the light fixture on our back porch first.
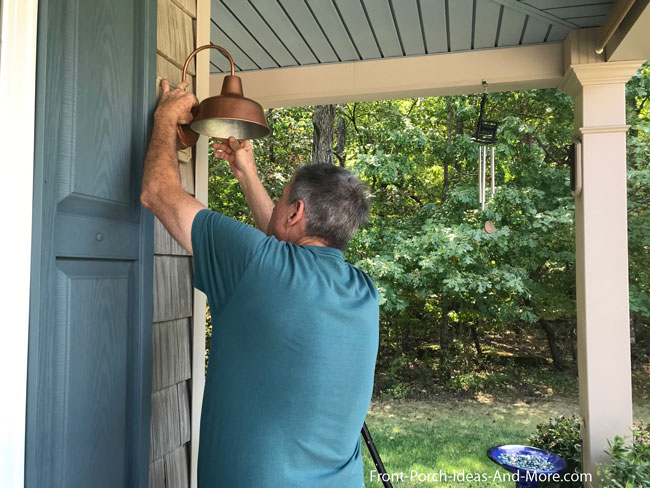
After turning off the power I started unscrewing the light from the wall.
To my surprise, as I began pulling it out to unfasten the electrical connections, dozens of wasps began to emerge!
Unbeknownst to me, wasps had built an extensive nest inside the light fixture.
Fortunately, they were beginning their hibernation phase and were quite lethargic.
I left the light dangling and retrieved wasp spray which quickly eradicated the problem.
Interestingly, we had never seen any wasps beside that light fixture over the years.
After disconnecting the light from the branch circuit wires, I washed the light fixture and spray painted the outside.

Painted porch light
I reinstalled the light fixture and reset the circuit breaker.
I then repeated the process for the remaining porch lights.

Our lights before painting

Before and after comparison

Revitalized porch light
Although I didn't encounter any more wasps, a mud dauber had built a nest inside another porch light that totally encased the wire nuts and connections.
A word to the wise: Be careful when removing light fixtures!
A Little Before and After
We both like how this porch project turned out as it gives our porch a fresh new look.

Our lights before painting

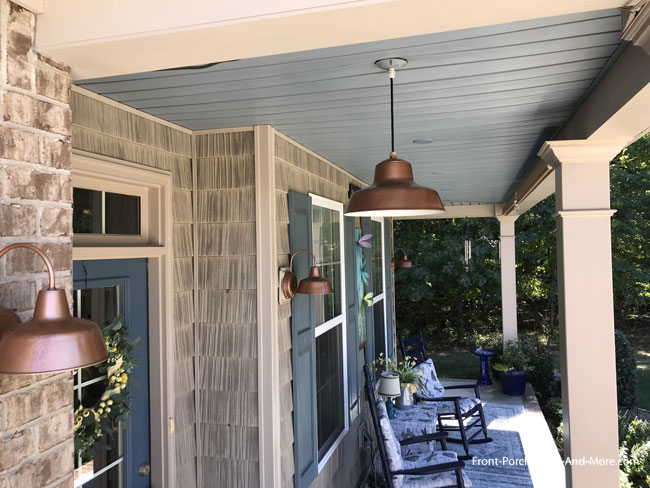
Painted front porch lights
Pleas Note: We always recommend you consult with a professional licensed electrical contractor before beginning any electrical work.

Hi! We're Mary and Dave, lifelong DIYers, high school sweethearts, and we both love porches.
You've come to the right place for thousands of porch ideas.
Our Sponsors


End Sponsors
|

Hi! We're Mary and Dave, lifelong DIYers, high school sweethearts, and we both love porches.
You've come to the right place for thousands of porch ideas.
--- Our Sponsors ---


--- End Sponsors ---
Our Newsletter, Front Porch Appeal
Learn more!
Thank you for being here!
|
 Outdoor Porch Light Ideas
 Learn How to Wire a Receptacle



 Once we determined that, I cut the pendant cord to an appropriate length and stripped the ends of the wires to attach to the branch circuit wires as shown below.
 Mary achose the color since she is the artist in our family and colors aren't my thing.
