|
By Dave and Mary
4th of July Craft Ideas
To Decorate Your Front Porch, Yard and More
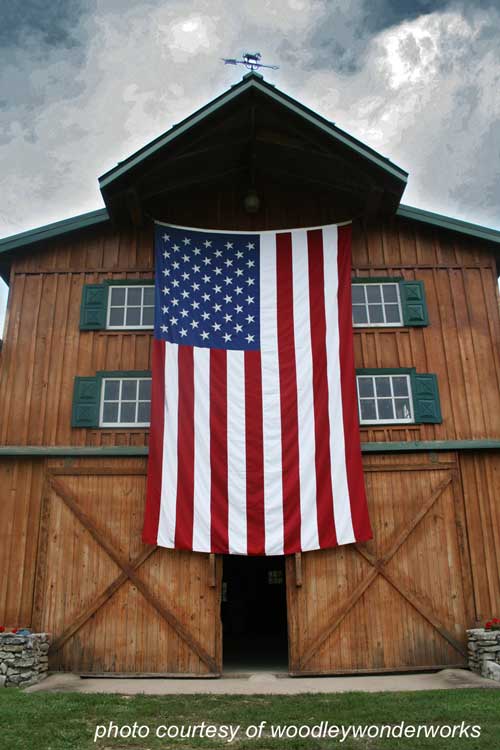
Try one of these 4th of July craft ideas for decorating your front porch for this special patriotic holiday. They are fun to make, relatively inexpensive, and will bring to delight to friends and family alike.
So get your red, white, and blue on and make this a most decorative 4th of July.
Decorations need not break the bank. You can find items around your home, thrift shops, and garage sales to use to embellish your home on this festive holiday.
I like to use scrap wood for my wood decorations and have been know to acquire pieces over time just for this purpose.

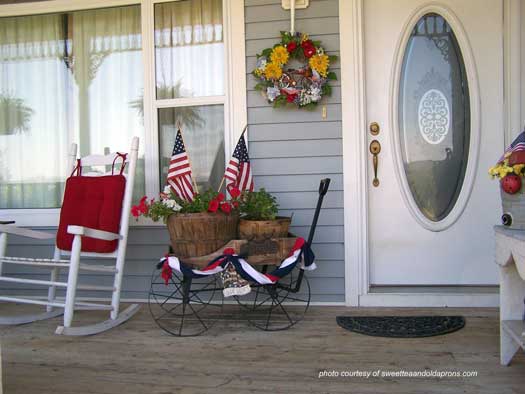
Photo courtesy of sweetteaandoldaprons.
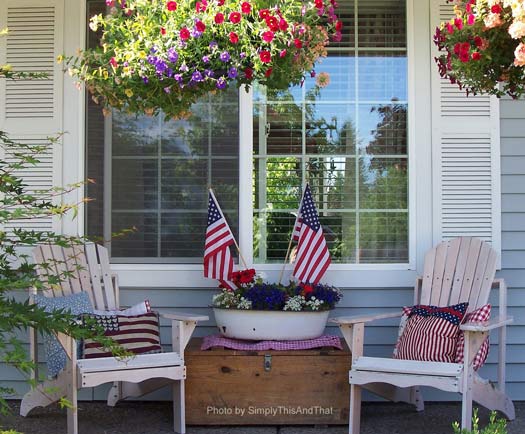
Barrels, colorful flowers, and flags
We highlight several 4th of July craft ideas you can create as shown or modify to fit your own decorating style. For example, the 4th of July bird house project can be enlarged or even made smaller depending on your own needs.
4th of July Birdhouse Extravaganza
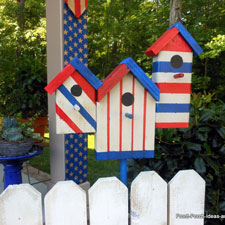
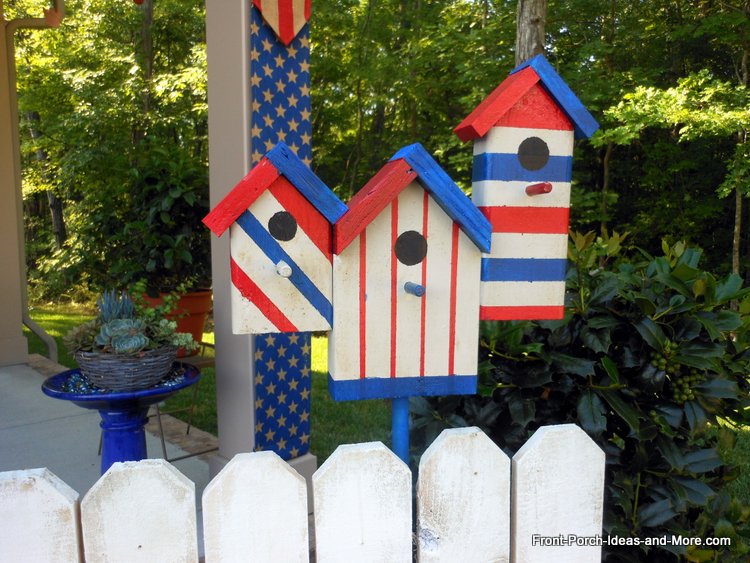
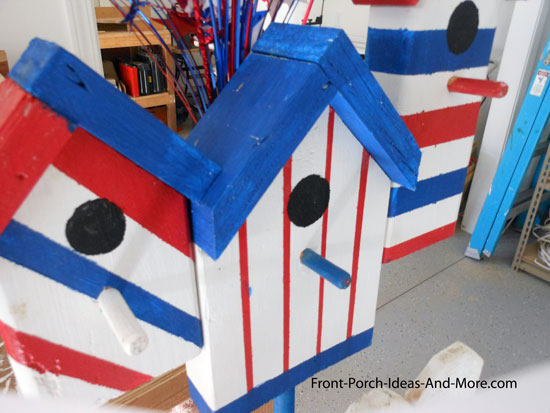
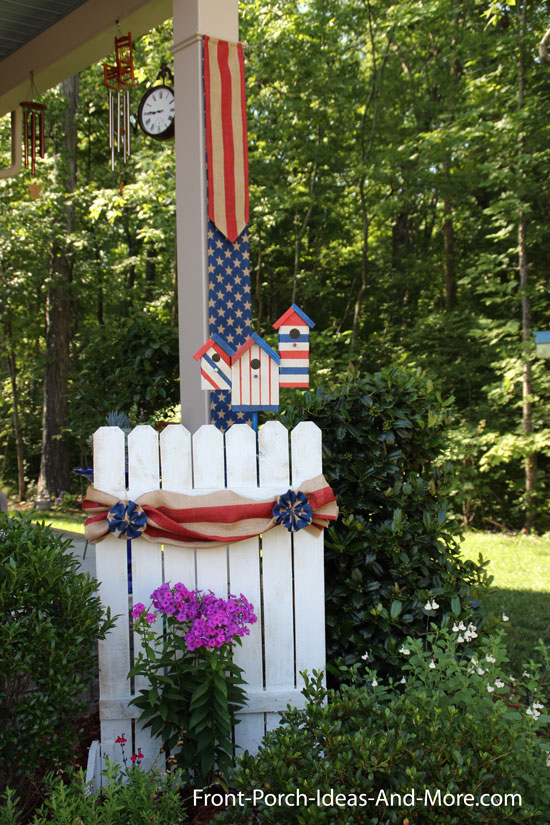
I had fun making these 4th of July painted bird houses. You can stake them in your yard or use them on your porch or even display them inside as a 4th of July decoration.

This delightful 4th of July craft idea was made from scrap lumber, specifically two pieces
of 2x4s and one 2x6, making it a really inexpensive 4th of July project.
Almost any scrap lumber will work and you can make yours any size. I'll walk you through what I used to give you an idea of what is involved.
Materials and Cut List: (in inches)
Birdhouse Bodies
From 2x4s:
1 - 5 1/2 by 8 inches
1 - 3 1/2 by 8 3/4 inches
From 2x6
1 - 3 1/2 by 5 3/8 inches
Roof Sections
2 - 1/2 by 1 3/4 by 3
1 - 1/2 by 1 3/4 by 3 1/4
1 - 1/2 by 1 3/4 by 3 1/2
1 - 1/2 by 1 3/4 by 3 7/8 (optional - cut at 45 degrees as shown)
1 - 1/2 by 1 3/4 by 4 5/8 (optional - cut at 45 degrees as shown)
Note: You can also use other thicknesses of wood for the roof, e.g., 3/4 inch which may be more
readily available.
Dowels
7 - 3/8 x 1 1/2 inch dowels (you can use smaller ones if desired)
1 - 1/2 x (?) If placing in the ground, determine height and obtain applicable size dowel
Paint
Red, white, blue, black (or whatever colors you like)
We used craft paints for this project.
Wood Glue
Masking or painters tape
Tape measure
Pencil
Hand saw, chop saw, or jig saw
Hammer
Small nails (optional)
Construction Steps:
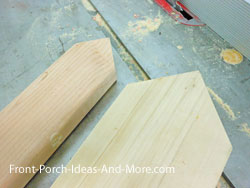
 1. Cut the tops of the birdhouse bodies at 45 degree angles
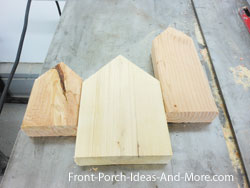
 Cut bird houses to length.
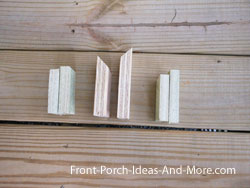
 Cut roof sections to size:
As you can see in the photo at right, I cut the wide birdhouse roof sections at 45 degrees - only because of my layout.
You may not need to do this depending on how you position your bird houses. You may want to wait to cut your roof sections until you've completed Step 3 below.
2. Mark and Drill Dowel Joints
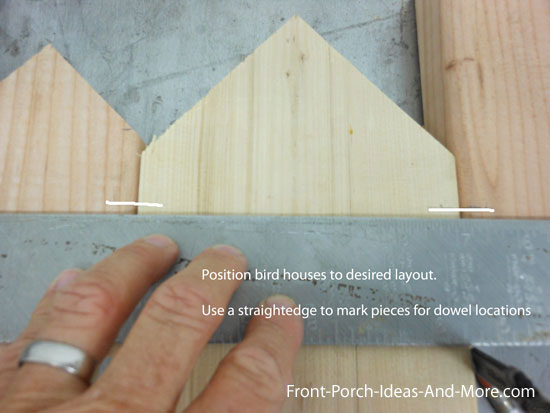
Layout your bird houses to your liking. Use a straightedge to draw a line along the joining lines. In our case, we offset the houses but you may like them in a different order.

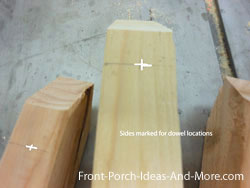
Turn on edge and find the center line using your "joint" mark as the reference point. Make a mark where the two lines meet (should be centered on edge side).
Mark each piece (the center piece will be marked on both edges).
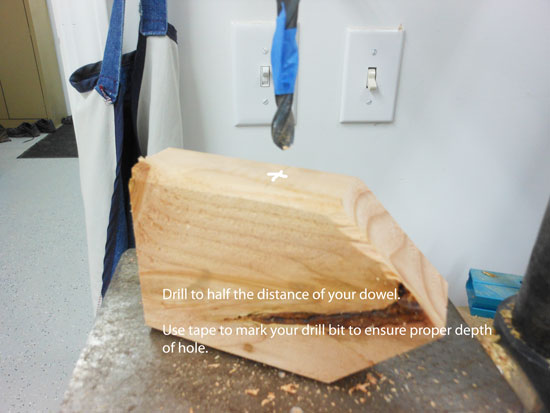
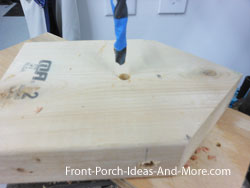
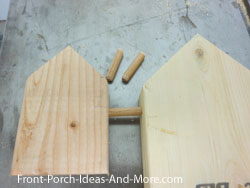
 Drill a 3/8 inch hole half the depth of the length of the dowel (3/4 inch) into each piece at mark
(Tip: To drill exactly a 3/4 inch hole wrap a small piece of tape around your drill bit 3/4 inches from the tip).


Next, mark and drill hole for perches. Find the center line of each house.
- Small house - position hole 2 1/4 inches from bottom on center line
- Wide house- position hole 4 inches from bottom on center line
- Tall house - position hole 5 inches from bottom on center line
Optional: Find the center on the bottom of the wide birdhouse. Drill a 1/2 inch hole approximately 3-4 inches to accept the 1/2 dowel for staking in yard
 3. Insert a dowel into each hole (except perch holes) and dry fit the pieces (do not add glue). Make any adjustments as necessary. In my case, I didn't like the layout so I drilled other holes.
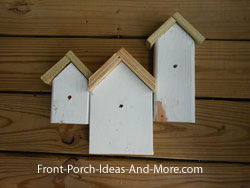
 While assembled, dry fit the roof sections. Depending on how you position your bird houses, you may not have to make any other cuts.
When satisfied the houses and roofs fit to your satisfaction, disassemble the pieces taking note of how they went together - you may want to mark them on the backs for future reference.
4. Paint your bird houses and roof sections.
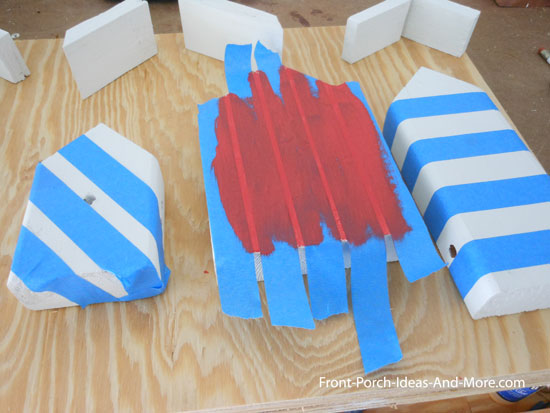
I initially painted the birdhouse white (primer). After they dried, I used painters tape to create the designs.
 Paint accordingly and let dry.
After pieces are dry, paint the birdhouse entrance holes with black paint. We used a circle guide to help create the circles or you could cut a circle from paper or cardboard to make a stencil.
Small house hole - 3 3/4 inches from bottom
Wide house hole- 5 1/2 inches from bottom
Tall house hole - 6 1/4 inches from bottom
5. After pieces are dry, begin final assembly.
Place glue on dowels and insert them into the holes. You may need to tap them in with a hammer.
Place glue on perch dowels and insert into holes.
Place glue on roof sections and affix to houses (you may need to use small nails to secure the roof section (pre drill holes first)

6. Optional: place glue on one end of 1/2 dowel and insert into bottom of wide birdhouse.
We installed our bird houses on our decorative outdoor fence in front of our porch as you can see in the photo below. We decorate this fence (another great 4th of July craft idea) in many different ways to celebrate the seasons and holidays.
You can make one too; we show you how.

You really ought to check out our 4th of July banners too
- a quick and easy burlap project.
NOTE: I initially used bright 4th of July colors for the bird houses; however, we later decided to mute the colors of our bird houses to complement our
I wiped oak stain over the paint until I achieved the look I needed.
Luminaries by the Can
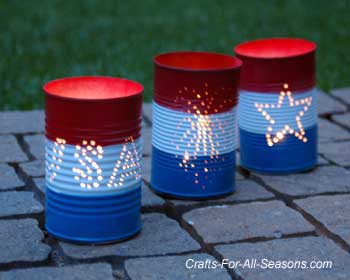
Karen of Crafts-For-All-Seasons shares her Tin Can Luminaries made from recycled soup and vegetable cans - making this another of our favorite 4th of July craft ideas.
Mary and I have seen many different kinds of luminaries but we think these would be extra fun to make; even your kids can join in. Imagine them lining your porch steps, sidewalk or driveway.

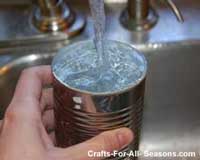
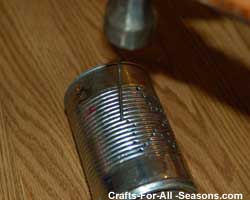
 Karen starts by filling the cans with water and freeze them so the can won't dent when you punch a hole into it with a nail and hammer.
Another method is to use a Dremel tool or drill with a 1/16th or 3/32nds inch bit or smaller to drill holes.
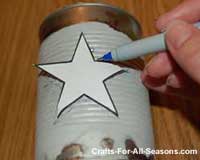
 Create a design like a star, fireworks, flag, or other patriotic image.
Transfer the design to a template (or use a star template you can download on Karen's website).
Place the template on the can and trace around it with a marker.
 Punch out the design (or drill out the design) using the lines you drew as the template.
The closer the holes to each other the more defined the image will be.
When the holes are completed, allow the ice to melt (if using that method). Thoroughly dry the cans.
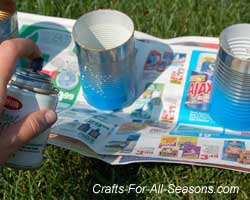
 Painting them is easy. Start by spray painting the bottom third with blue spray paint. Ensure your area is well ventilated or paint them outdoors.
After the paint is dry, wrap the painted portion with paper or foil and paint the next third white. After it dries, wrap the painted portions again and paint the top third red. Allow to dry.
Now you are ready to light the fires. Add some sand to each can and insert a tea light candle
into each one. Or a battery powered candle. Just be safe.
For more details, a free downloadable star template, and other 4th of July craft ideas be sure to visit Karen's crafty site,
Crafts for All Seasons.
Our special thanks to Karen for sharing one of her 4th of July craft ideas with us. We like these patriotic tin can luminaries.
Homemade Firecrackers
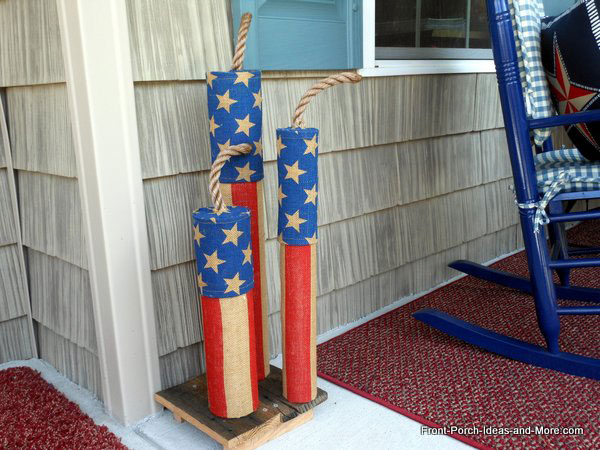
We show you how to make these Americana burlap firecrackers.

Front Porch Flag Display
Even though Denise of
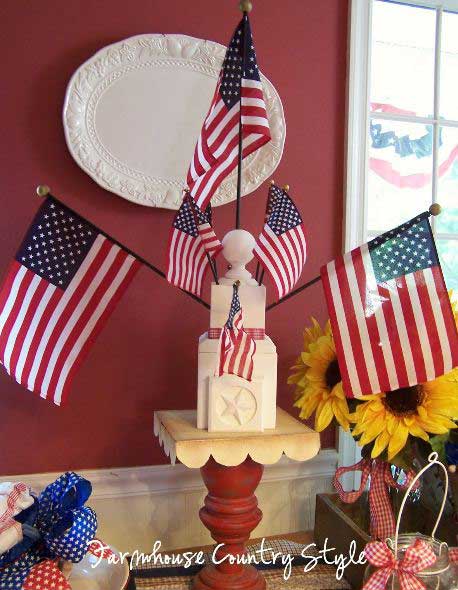
Farm House Country Style made this patriotic flag holder for indoors, you could also use it on a table on your front porch, at the top of your porch steps, or even secure it to your top railing on your balustrade.
We really enjoy Dee's 4th of July craft ideas and believe you will too.

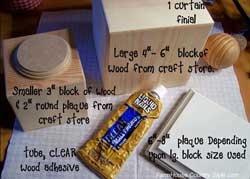
Denise begins by purchasing the required blocks of wood at Michaels and her local home supply store. For her display she purchased the following supplies:

- Wood blocks: one 6 inch block, one 3 inch block, a 6 inch square plaque, a 2 inch
round plaque, and a plinth block (star shaped)
- One round finial
- White spray paint
- Three 8 inch by 12 inch flags
- Six 4 inch by 6 inch flags
- Ribbon (optional)
- Tools: hammer, drill and bits (sized to the diameters of the flag poles), wood glue
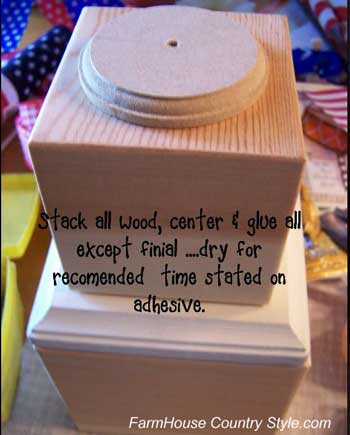
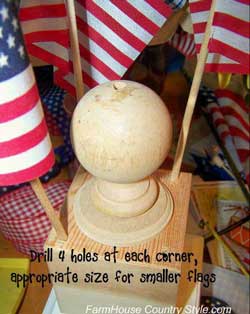
 Stack and glue the blocks as shown at right.
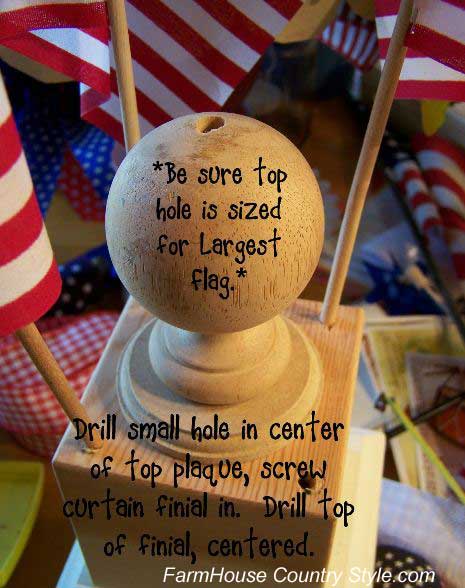
 When glue has dried, drill a small hole in the center and screw the finial into it.
Then drill a hole into the top of the finial to accept an 8 inch by 12 inch flag.
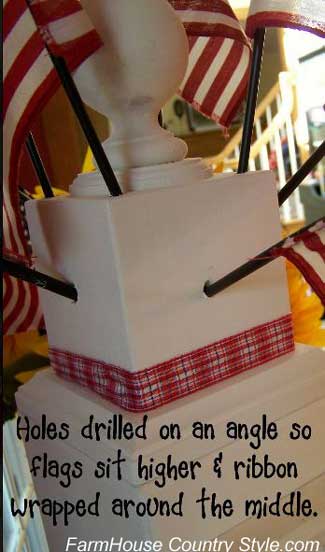
 Drill holes at corners as shown at right. Be sure to drill them at angles to stabilize the display and for aesthetic purposes.
Drill holes on the sides as well as shown below. Paint the display white and attach ribbon if desired.

For more detailed instructions and to see how you can make a folk art flag, be sure to visit Denise's
Farm House Country Style blog for more 4th of July craft ideas. Thanks Dee, for sharing your project with us.
Show Your Colors
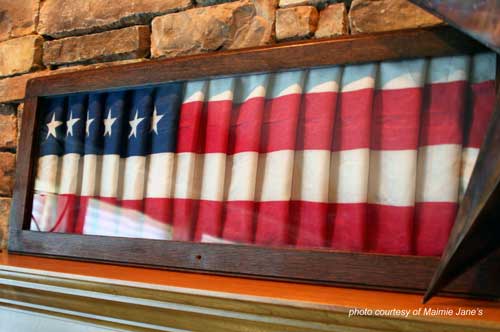
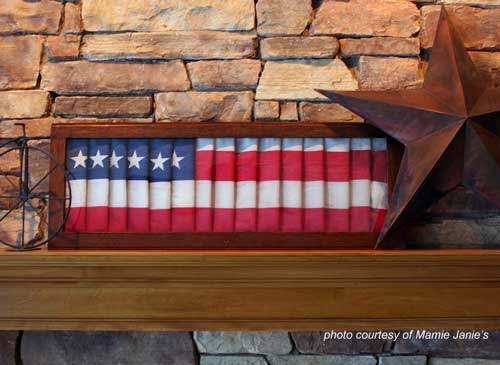
Jane, of Mamie Jane's blog, shows us how she used an old door and flag to create a unique and beautiful 4th of July decoration idea.
It is one of our favorite 4th of July craft ideas.

Jane is an expert at finding treasure inexpensively and then transforming them into something special.
She located the oak frame (which is actually a glass door to perhaps a bookcase) and an old flag at thrift stores.

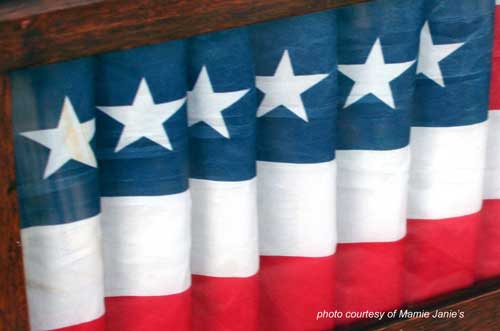
Without any cutting Jane was able to fold and pleat the flag to create the effect you see.
The flag pleats are held in place with tape so as not to damage the flag.

Although Jane displays this indoors on her mantel, Mary and I think this could be in a well-protected place on your porch.
You could also create something similar with red, white, and blue fabric. Just use your imagination.
More 4th of July Decorations
Decorate Your Door with a Homemade 4th of July Wreath
Wreaths really make your front door festive. Attach patriotic items like buttons, pins and home-made stars with a hot glue gun to a grapevine wreath. Add a few flags and ribbons and hang on your door.

Other 4th of July craft ideas include making pillow covers for your outdoor furniture like those in the picture below in assorted red, white and blue fabrics.
By making a pillow cover that has an overlapping opening in the back, the pillow covers are easy to slip off and save for the next patriotic holiday.
Can't sew? Don't let that slow you down. Use a hot glue gun to seal the seams. You'll be pleasantly surprised at how easy it is to do and your covers will look great.
Select fabric in bold patterns with blue and add outdoor pillows in red and white solids. You can also add other accents like a red/white/blue rug or perhaps paint a garage sale table or chairs in those same colors.

For 4th of July party ideas, fill glass jars or buckets with red, white and blue marbles and add various sized flags. Could be used as centerpieces too.
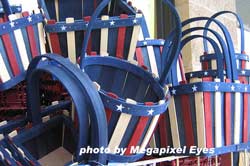
 Purchase small inexpensive baskets and white wash them (thin white paint with water). Draw star shapes on foam plates and paint them red and blue (or purchase foam in colors).
Let the shapes dry, cut them out, and hot glue them to the rim of the basket. Use the basket as a napkin holder or silver ware holder or fill with goodies and use it as a house-warming gift you take to the party.
Photo above courtesy of Megapixel Eyes.


Hi! We're Mary and Dave, lifelong DIYers, high school sweethearts, and we both love porches.
You've come to the right place for thousands of porch ideas.
Our Sponsors


End Sponsors
|

Hi! We're Mary and Dave, lifelong DIYers, high school sweethearts, and we both love porches.
You've come to the right place for thousands of porch ideas.
--- My New Molly Jo Book ---

Gentle mystery for kids 8-12. Adults like it too. My book helps kids slow down, notice, and appreciate everyday surprises in nature.
It's for sale in right here!
--- Our Wonderful Sponsors ---


--- End Sponsors ---
Our Newsletter, Front Porch Appeal
Learn more!
Thank you for being here!
|
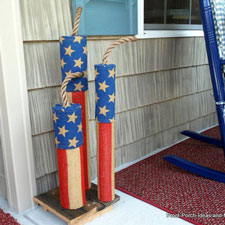 Firecrackers for the Front Porch
 4th of July Craft Ideas




 1. Cut the tops of the birdhouse bodies at 45 degree angles
 Cut bird houses to length.
 Cut roof sections to size:
 Drill a 3/8 inch hole half the depth of the length of the dowel (3/4 inch) into each piece at mark
 3. Insert a dowel into each hole (except perch holes) and dry fit the pieces (do not add glue). Make any adjustments as necessary. In my case, I didn't like the layout so I drilled other holes.
 While assembled, dry fit the roof sections. Depending on how you position your bird houses, you may not have to make any other cuts.
 Paint accordingly and let dry.
 Karen starts by filling the cans with water and freeze them so the can won't dent when you punch a hole into it with a nail and hammer.
  Create a design like a star, fireworks, flag, or other patriotic image.
  Punch out the design (or drill out the design) using the lines you drew as the template.
  Painting them is easy. Start by spray painting the bottom third with blue spray paint. Ensure your area is well ventilated or paint them outdoors.

 Purchase small inexpensive baskets and white wash them (thin white paint with water). Draw star shapes on foam plates and paint them red and blue (or purchase foam in colors).