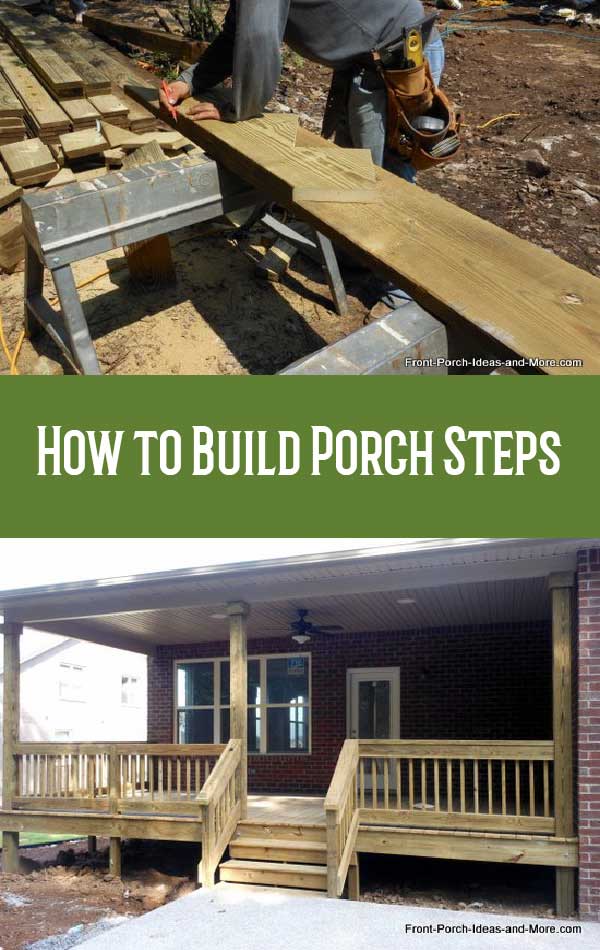
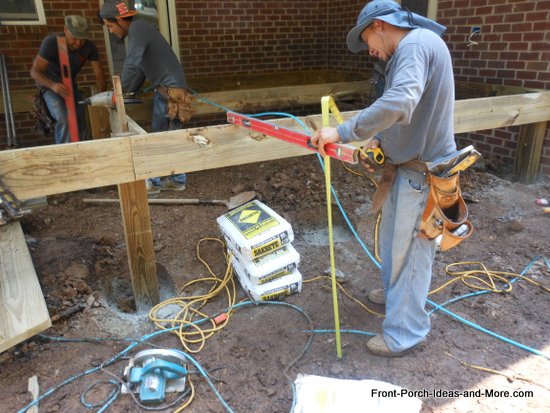
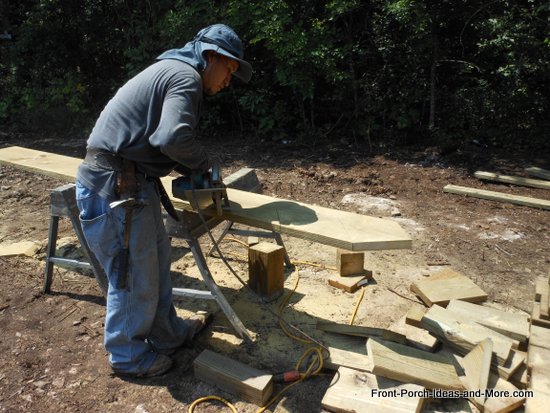
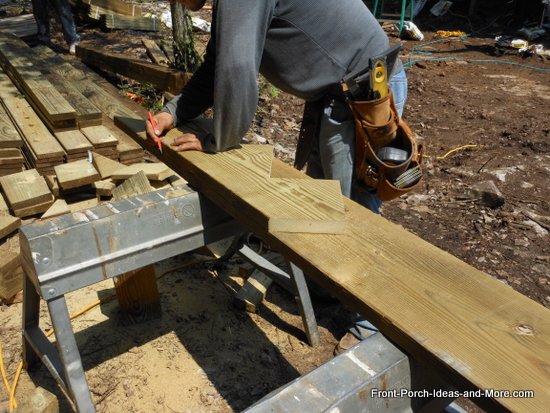
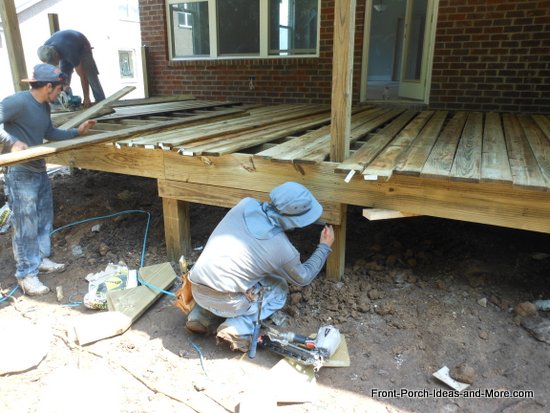
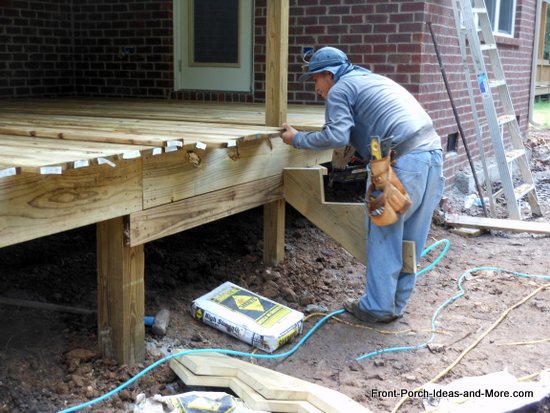
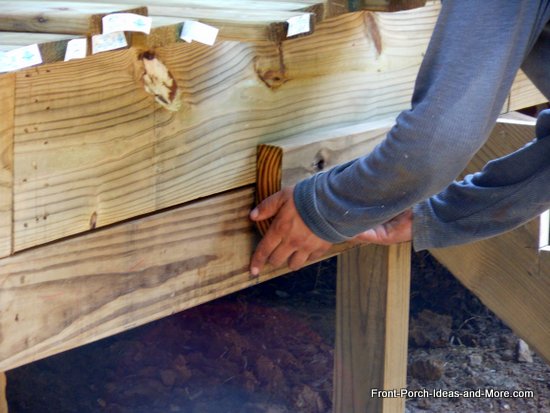
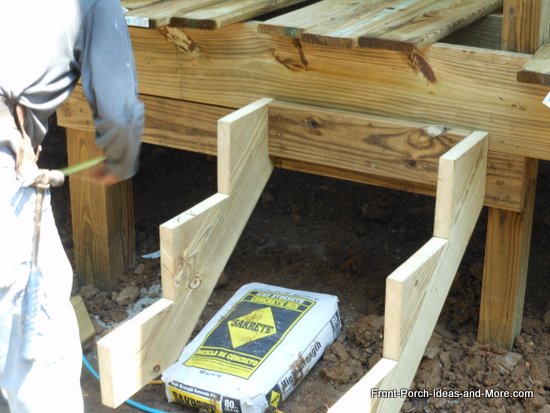
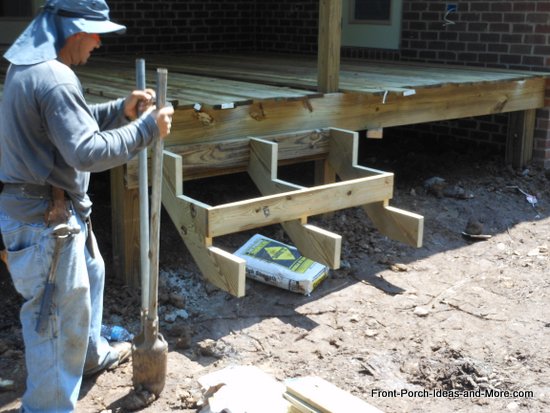
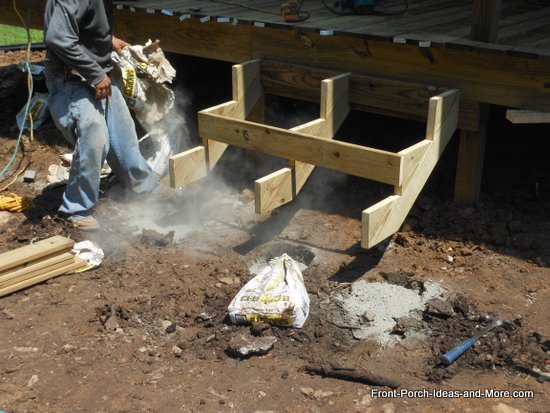
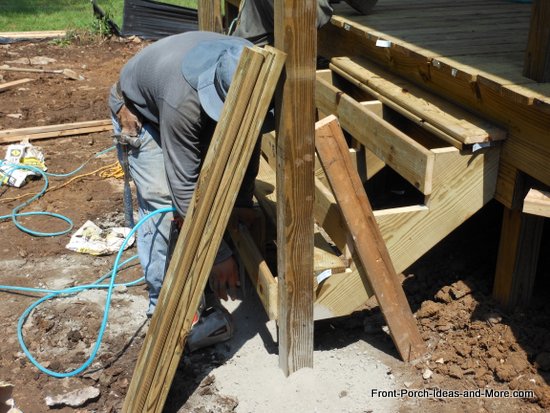
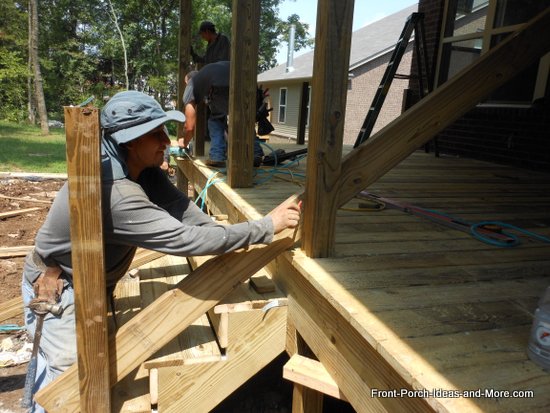
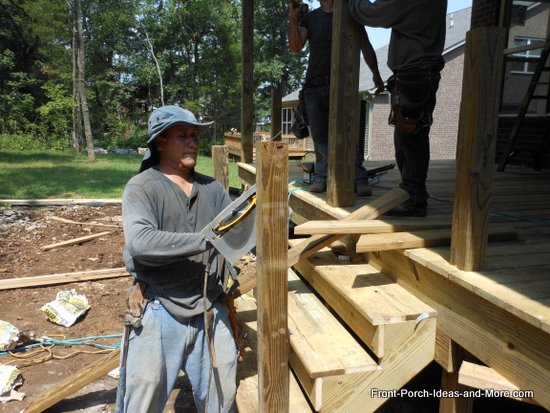
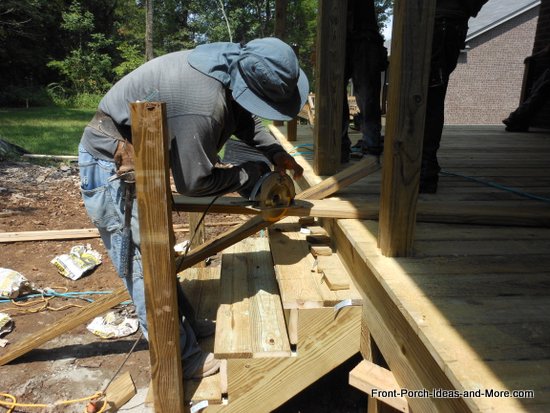
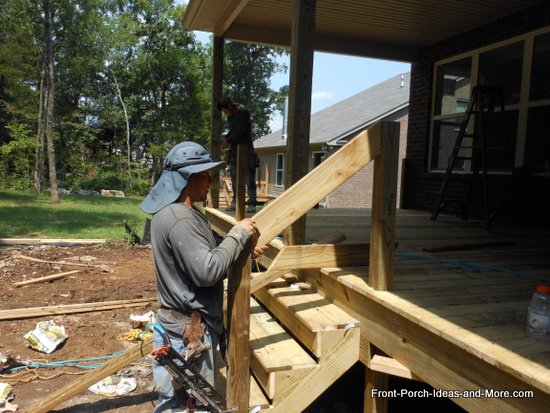
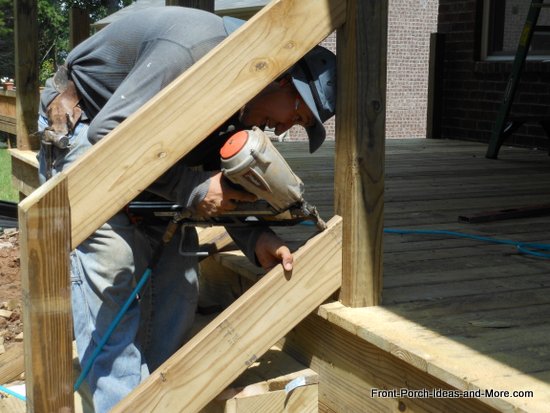
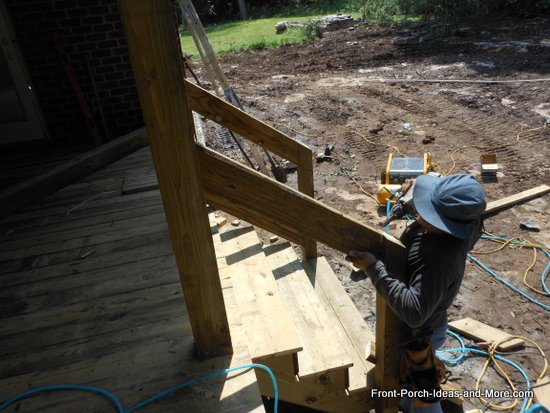
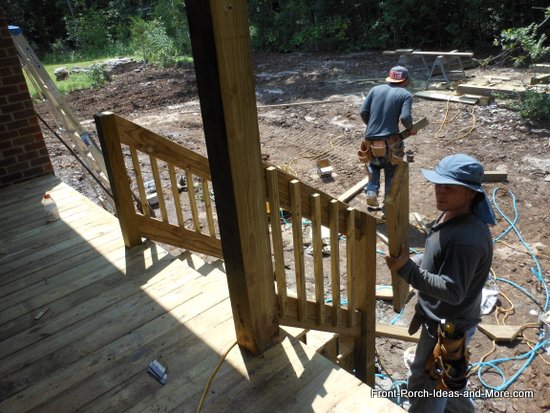
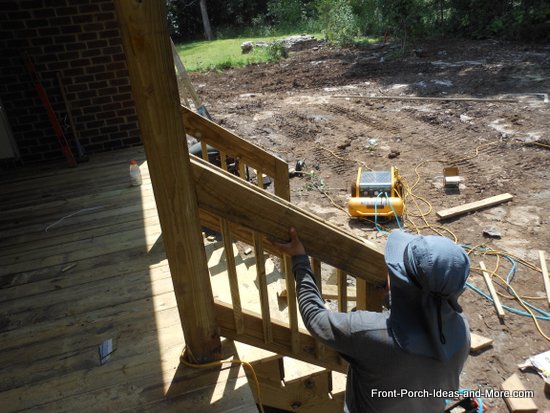
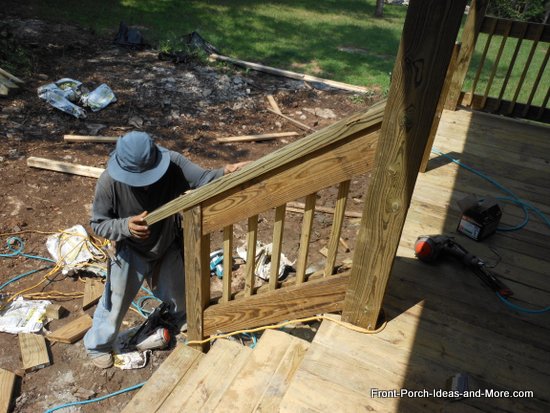
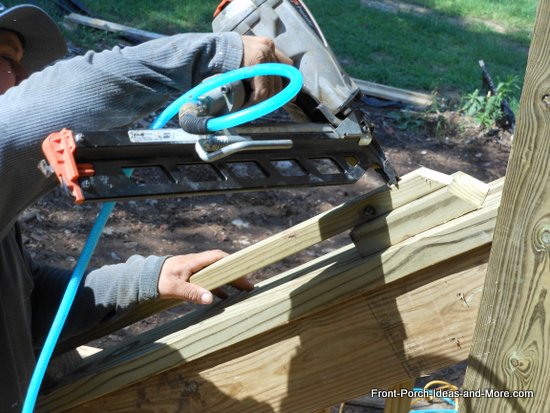
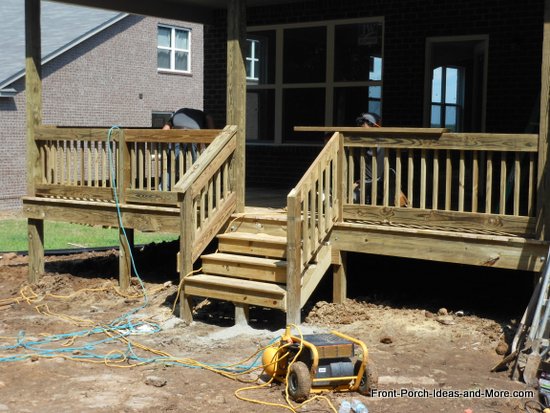
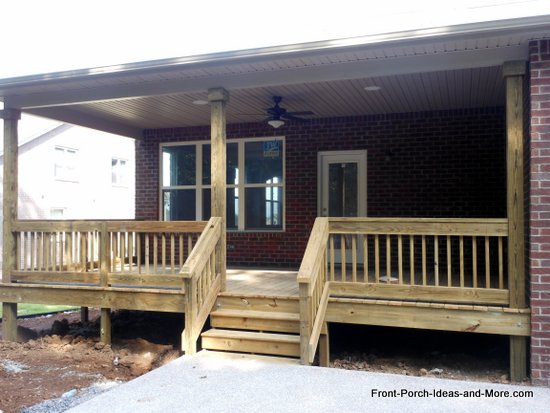
Learn How to Build Steps
|
||||||
More Porch Step Ideas Concrete Step Ideas
Get ideas for concrete porch steps and more..... |
 Build Concrete Steps
See the process and steps for building concrete porch steps... |
 Stairway Landing Ideas
See this ideas for a stairway landing for front door access... |
You Are Here:
|

Hi! We're Mary and Dave, lifelong DIYers, high school sweethearts, and we both love porches. You've come to the right place for thousands of porch ideas.
Our Sponsors


End Sponsors
Helpful Links
Enjoy shopping Amazon (affiliate link)Popular Pages
What's NewJoin Our Newsletter Family
Porch Designs
Porch Ideas for Mobile Homes
Build a Porch | Small Porches
Porch Columns | Porch Railings
Screened Porches
Porch Curtains | Porch Enclosures
Porch Landscaping | Vinyl Lattice
Porch Decorating | Porch Ideas
Shop
Navigation Aids
Home | Top of PageSite Search | Site Map
Contact Us
Policies
Disclosure Policy | Privacy PolicyLegal Info
Please Join Us Here Also

Find a Trusted Local Pro
Copyright© 2008-2025
Front-Porch-Ideas-and-More.com All rights reserved.
No content or photos may be reused or reproduced in any way without our express written permission.
At no extra cost to you, we earn a commission by referring you to some products on merchant sites. See our disclosure policy.
We, Front Porch Ideas and More, confirm, as stated on our privacy policy, that we do not sell personal information.
All content here is solely for presenting ideas. We recommend consulting with a licensed, experienced contractor before you begin your project.
We make no guarantees of accuracy or completeness of information on our site or any links to other websites contained here.
Thank you for taking your time to stop by. See what's popular and new here.

Hi! We're Mary and Dave, lifelong DIYers, high school sweethearts, and we both love porches. You've come to the right place for thousands of porch ideas.
--- My New Molly Jo Book ---

Gentle mystery for kids 8-12. Adults like it too. My book helps kids slow down, notice, and appreciate everyday surprises in nature. It's for sale in right here!
--- Our Wonderful Sponsors ---


--- End Sponsors ---
Our Newsletter, Front Porch Appeal
Learn more!Thank you for being here!
At no extra cost to you, we earn a commission by referring you to some products on merchant sites. See our disclosure policy.
We, Front Porch Ideas and More, confirm, as stated on our privacy policy, that we do not sell personal information.
All content here is solely for presenting ideas. We recommend consulting with a licensed, experienced contractor before you begin your project.
We make no guarantees of accuracy or completeness of information on our site or any links to other websites contained here.
Front Porch Home | Return to Top
Contact Us | About Us | Advertise with Us | Search | Site Map
Media | Privacy Policy | Disclosure | Legal Notice | What's New
No content or photos may be reproduced or copied in any way without our express written permission.
