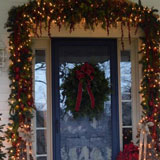
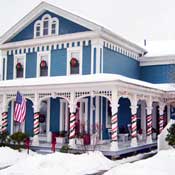
Make Outdoor Christmas DecorationsMaking outdoor Christmas decorations can put the "jingle" in your holiday bells. Mary and I enjoy making projects to add to our outdoor Christmas decor for our front porch.We like to use materials we have on hand or acquire them as inexpensively as possible. With just a little effort, we created a cabin-Christmas decor that can work well on any front porch. Outdoor Christmas decorations can be expensive. By making them yourself, you can save a small bundle and take pride in adding your own touch to your holiday decor. And, if you use our tips and ideas, you can even make them for free - or for very little. We hope that our homemade Christmas decoration ideas put a little extra "Merry" in your Christmas! 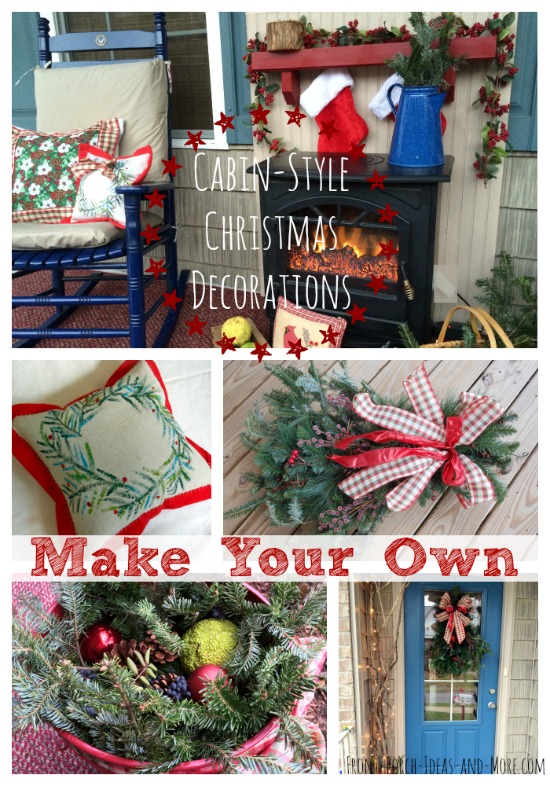
We hope you enjoy the homemade Christmas decoration ideas we have for you. Our porch is like a cabin in the woods this Christmas!We try to use materials we have on hand when we make our outdoor Christmas decorations; however, it won't cost a lot if you have to purchase a few items. For example, we acquired greenery for free - we'll explain how.Our instructional information will help you make these projects quickly so you can enjoy a cup of hot chocolate on your porch! Our Outdoor Christmas Decoration IdeasClick on the pictures below for project details!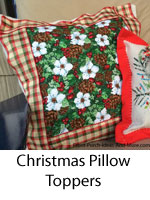


Pillow Topper InstructionsNo need to purchase expensive holiday pillows for your front porch. Why not use the pillows you already have? Mary's pillow toppers are easy to make and will save you lots of cash too.For each pillow topper, cut fabric to match the size of your pillow top. We are not finishing the edges, but if you want to finish the edges of yours, then allow for that. Then cut four pieces of wired ribbon that are slightly longer than each side. We cut four pieces that are 16 1/2 inches long. 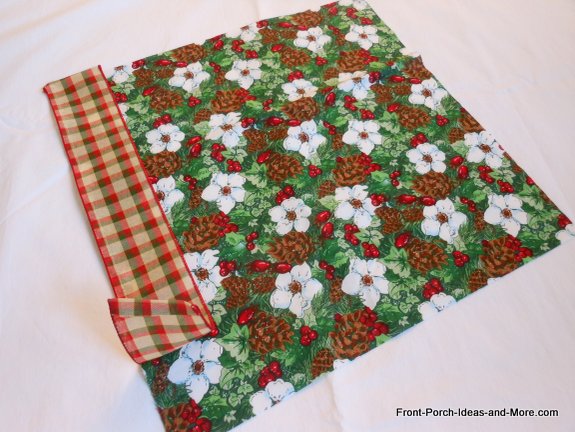
Line up the first piece of ribbon with one side of your fabric. Stitch close to the edge. (Or glue, if you prefer.) Mary prefers to sew, so if you decide to glue, you will be a pioneer on this project. Glue should be fine but maybe not as sturdy as sewing. Optional: Leave the first few inches free then begin your stitching (gluing). The reason is when you get around to the fourth side, you can slip the last piece of ribbon underneath the first and then complete the stitching (gluing). This will become more obvious when you get to the last piece of ribbon. 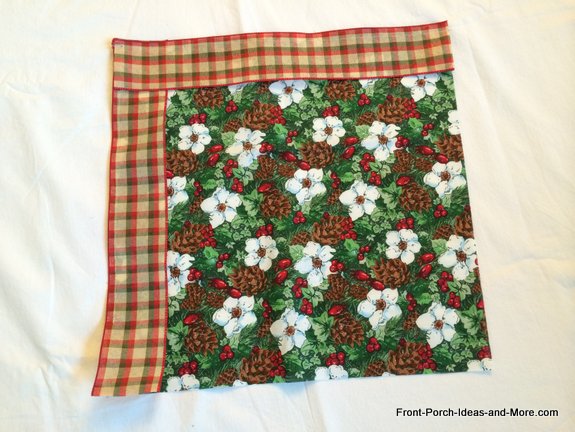
Moving around the pillow topper, stitch or glue down the second piece of ribbon. 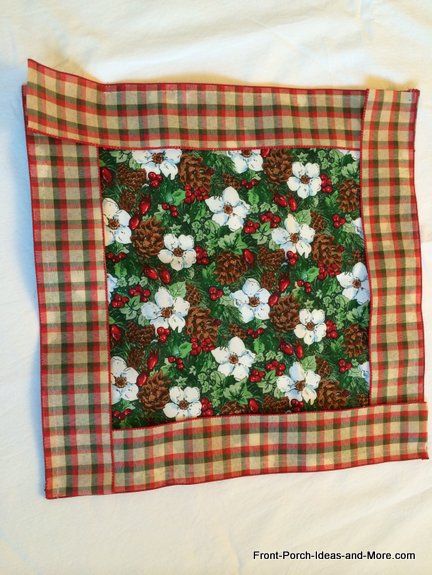
Keep going till you have all four pieces of ribbon attached on the outer edge. When you get to the last piece, you can tuck it underneath the first piece and then finish securing. Mary decided to stitch on the inner edge of the ribbon to make it lay flat. Now you are done and ready to put your pillow topper onto your pillow. We safety pinned ours since we won't be actually sitting on the porch much during the winter. It works out fine. But you could also stitch it on in each corner. 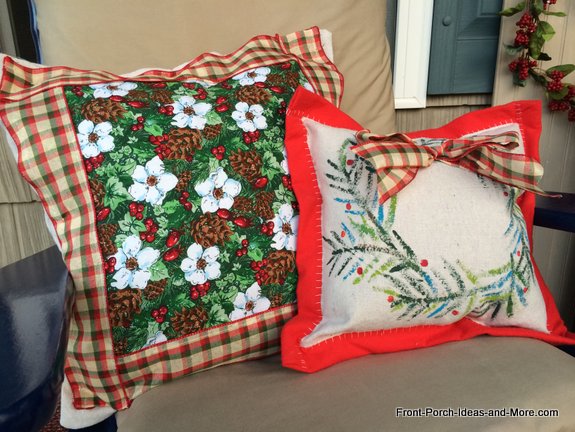
Fun and festive Christmas pillows. Read on to learn how to make the small pillow. 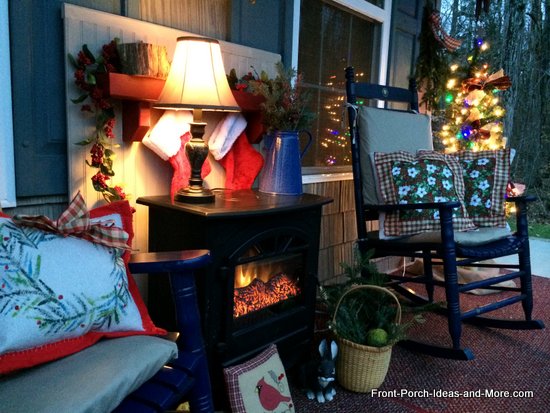
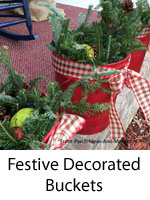
Back to topBudget Bucket DecorationsNo need to break the bank this Christmas. After seeing an inspiration photo of a beautiful trio of pots on a porch filled with greenery and pine cones, we decided to create our own version.We love homemade Christmas decoration ideas like this! We found inexpensive buckets, free greenery and went to town. 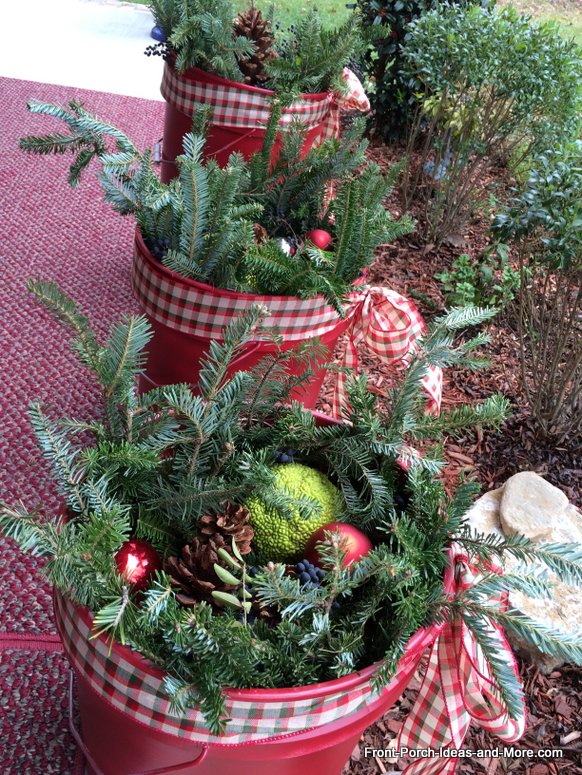
Inexpensive Christmas bucket porch decorationsTo make this outdoor Christmas decoration, use buckets you may have on hand or purchase ones like these from Home Depot, Lowes, or Ace Hardware. Ours cost about $3.00 a piece.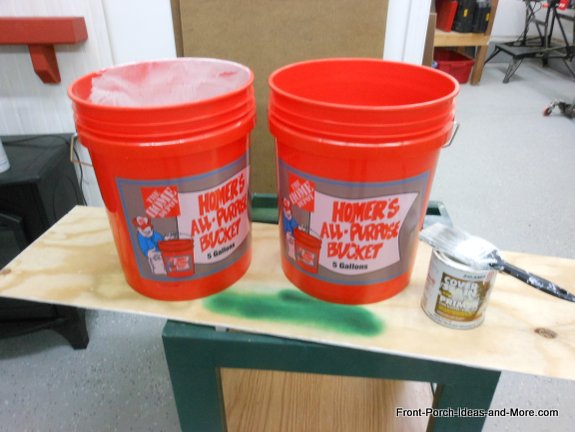
Inexpensive buckets from Home DepotI then painted them with Zinser® , a really good primer that accepts almost any other kind of paint. Paint the inside of the tops too so the original color doesn't show thru.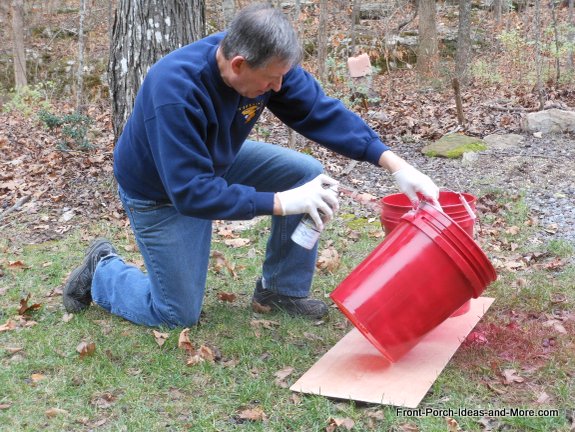
Painting the buckets a holiday color - we chose a rustic redWe placed bricks in the bottom for weight and a wood divider near the top (optional) and to take up the space. You could use sand or stones as well.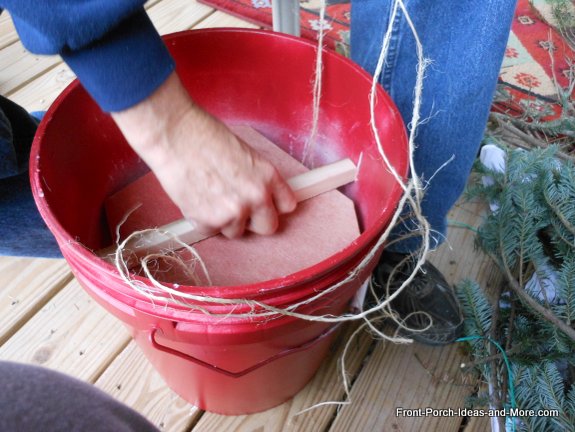
Shortening the depth of the bucket with a wooden dividerWe acquired greenery for free from Home Depot. Just ask if you can have the cuttings which they are going to discard. We got a bunch to use for our other projects as well!We placed selected pieces along the sides and filled the center with smaller branches. 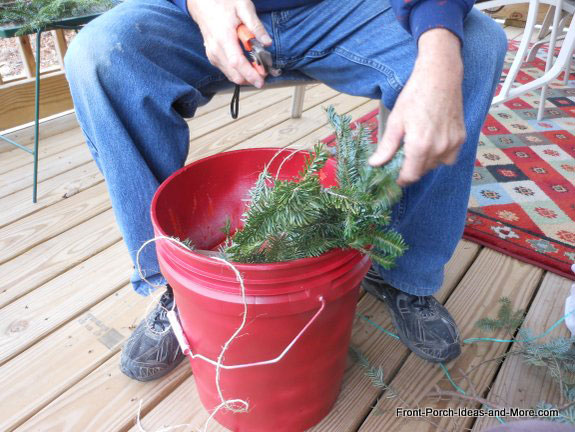
Arrange the greenery around the inside edge of the bucketMary then placed pine cones, osage oranges, and ornaments on top of the branches. She then tied holiday ribbons around the tops.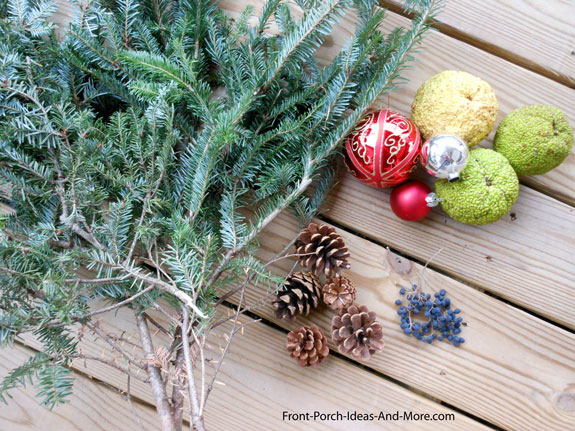
Pine cones, osage oranges, ornaments, and berries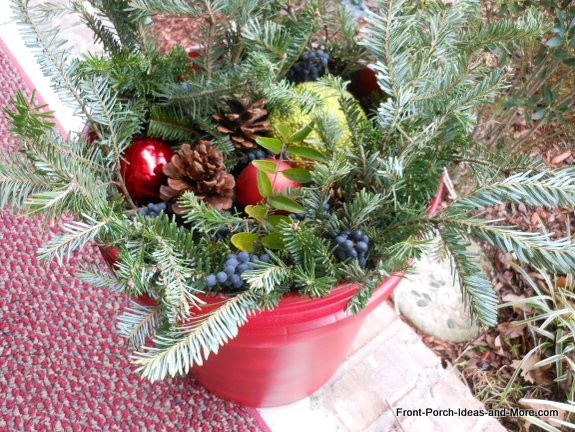
Arrange pine cones, ornaments, and other decorative items in center of bucket
Here's a close-up of how festive our buckets look from the top. It's fun how awesome these natural elements (and ornaments) look together on our porch! Such an easy project with minimum costs and they look great too! 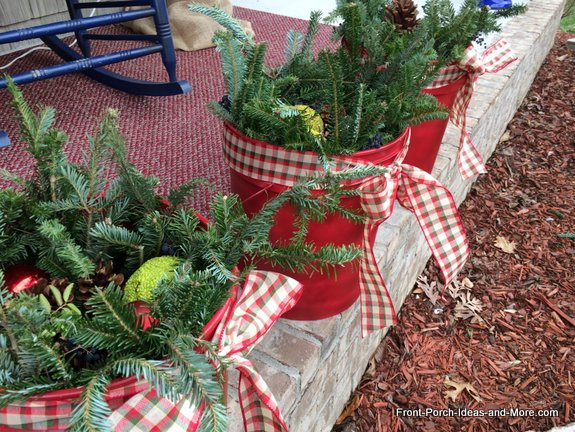
Wonderful and festive Christmas decorationsBack to topFresh Greenery Tied with Ribbon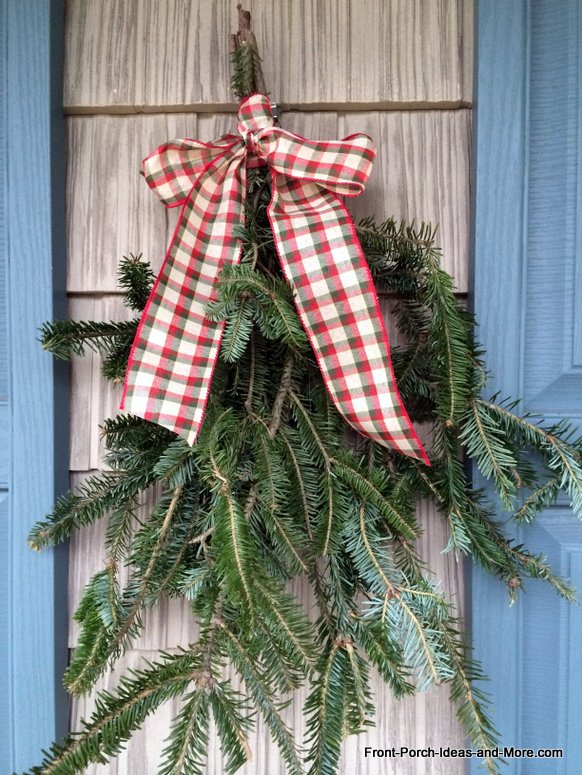
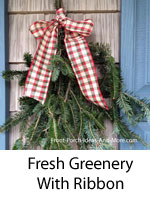
This is the easiest Christmas decoration ever. Gather some fresh greenery. You can ask for greenery at Christmas tree stands or your local home improvement store that sells trees. Usually they have a bin of cuttings that they are happy to give away. 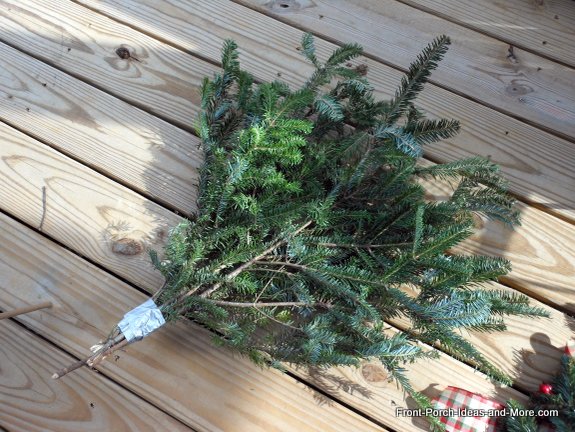
Just gather up enough to make the size swag that is right for your door or wall. We used duct tape to hold it together near the top. 
Then simply tie a pretty ribbon near the top to dress it up. 
Hang up with a wire from the back. Simple. Rustic. Country! Back to topPainted Wreath Christmas PillowMake Outdoor Christmas Decorations - Watch Our Short Christmas Pillow VideoThis sweet Christmas pillow goes together so nicely and makes a perfect little gift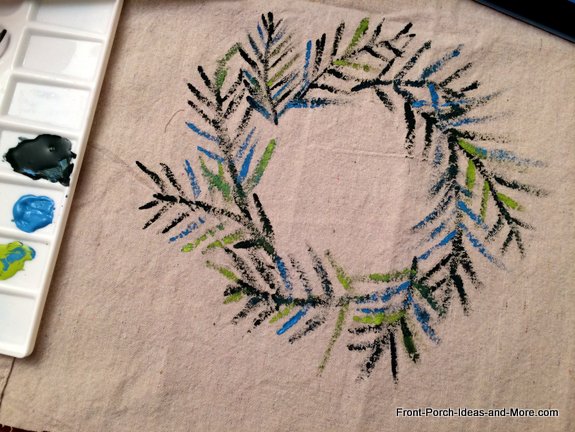
Paint a simple wreath onto a swatch of drop cloth in the shape of a circle. I used shades of green and aqua with acrylic paints. 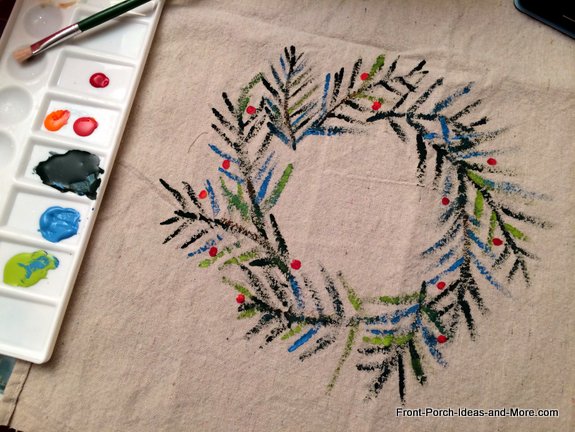
Then add in some berries to make the wreath come alive. I used the tip of a round brush dabbed in shades of red and orange acrylic paint for the berries. 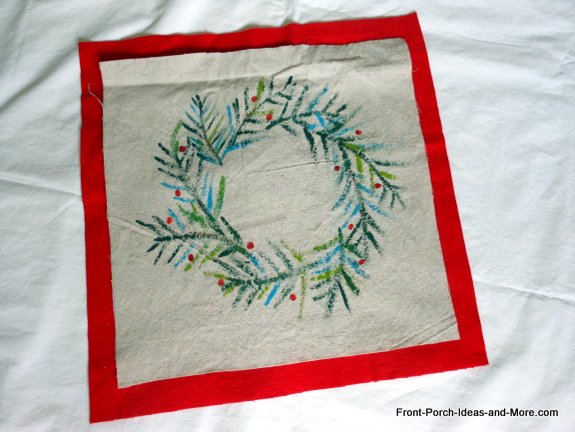
Then place your finished painting upon a swatch of red flannel fabric (or a color of your choosing) that is about 1/2 inch larger all the way around. 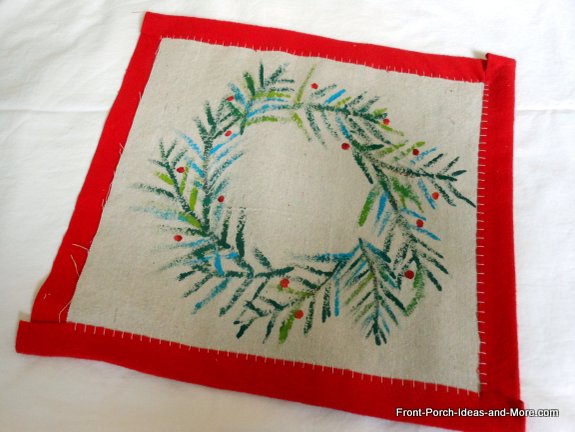
On three sides fold the red fabric over the painters cloth and secure it down. I used my sewing machine for this. Leave the 4th side open. 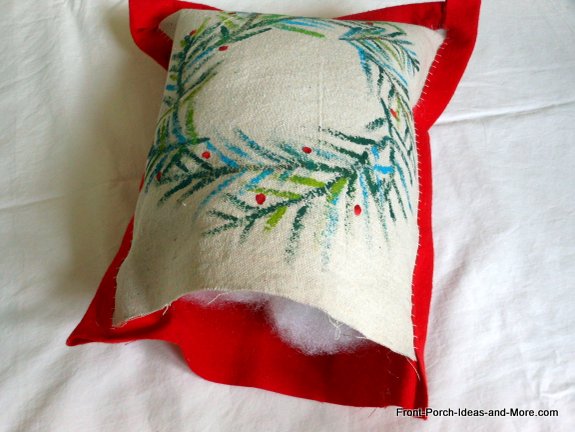
Fill the 4th side with fiber fill. Not too full or it will be hard to sew shut. 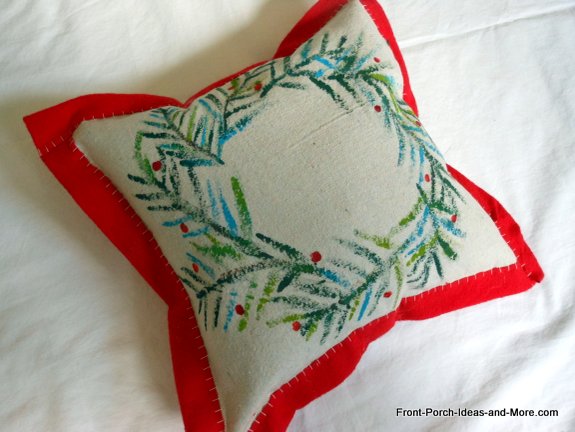
Then stitch the 4th side and your pillow is finished.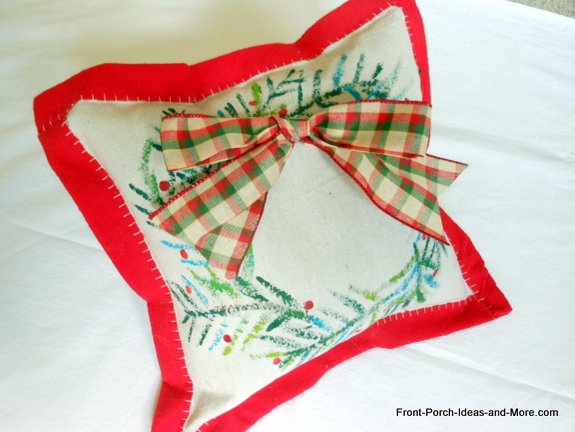
You can also add a bow like we did using tacky glue. Or leave it just the way it is. I think I prefer it without the bow. How about you? Back to topFaux Fireplace Chase and MantelEveryone likes the look of a nice fireplace and roaring fire for Christmas! So we replicated one for our front porch. You too, could easily make this outdoor Christmas decoration.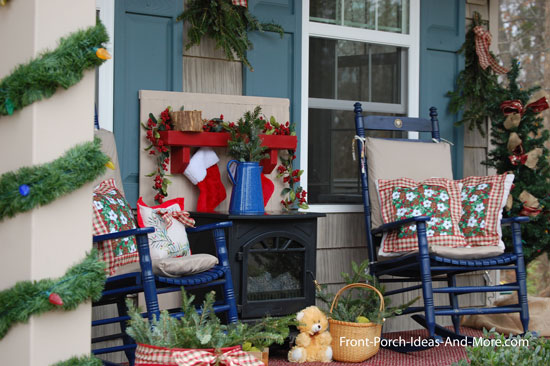
Decorated faux fireplace chase and mantelOur faux fireplace chase and mantel only took a few minutes to construct (less the painting). I used a piece of bead board I had on hand. Depending on how well your porch is protected from the weather, you could use a piece of masonite (inexpensive) or plywood.I first cut the backing (chase) to size. The measurements (height and width) for the chase are dependent on your own space limitations. In retrospect, I would have made our chase a bit taller. 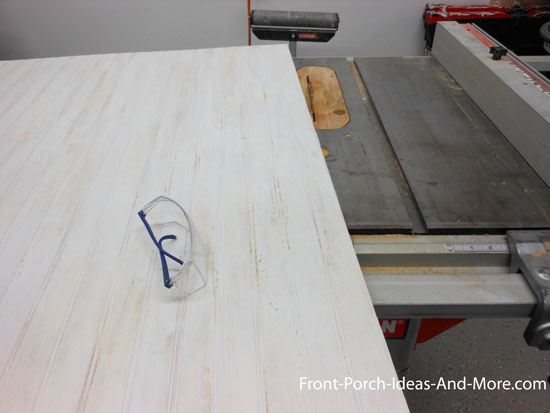
Cut backing (chase) to sizeI used a 2x4 on edge as the basis of the mantel. Center and position the 2x4 on the chase in a location that suits your needs.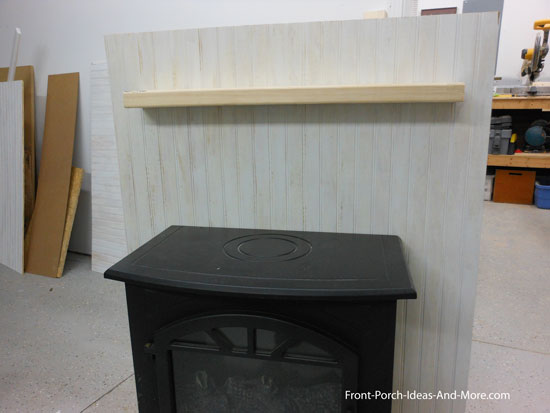
2x4 mantel centered on chaseI secured the 2x4 to the chase material with deck screws.When making this outdoor Christmas decoration you can also add corbels which are totally optional. I cut them from 2x4 material. Cut the ends at 45 degrees as shown and secure with deck screws. 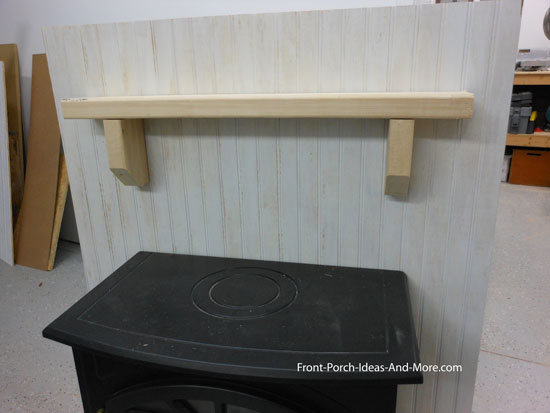
Corbels added to mantelI then used trim to add dimension to the 2x4. This is optional but it does give it a more "beefy" look.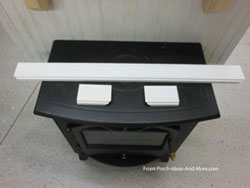
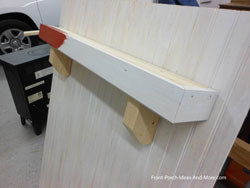
Important Note: I cut an opening for an electrical receptacle that would otherwise be hidden behind it when placed on our porch.
You will need to do the same if encountering the same issue.
I used a jigsaw to cut a hole to expose the electrical receptacle.
Next, paint your chase and mantel in your chosen colors and place on your porch. I originally painted the chase white; however, after we placed it on the porch we decided to re-paint it the trim color of our home. 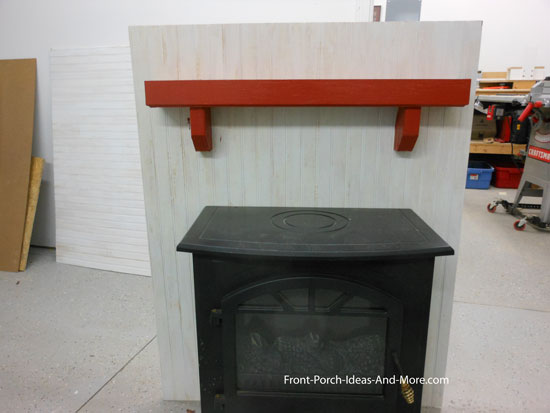
Painted fireplace chase and mantelI drilled small holes through the chase (bead board) at the top and back of the mantel. We can then secure any items we place on the mantel with wire.We secured our faux chase against the wall of our porch with the electric woodstove; however, you may need to secure it with other means. You could make it free-standing by attaching braces at the bottom. We already had an electric woodstove heater that I use in my wood shop. That will serve as our "fireplace" but you can just as easily paint a fireplace on your chase or just use it as the holder for your mantel. If you are wondering, we set the stove to display the flame feature only, not the heater. Decorate the mantel and enjoy! 
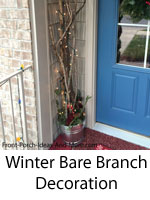
Decorated faux fireplace chase and mantelBack to topBare Branch BucketThis won't cost you anything if you already have an old metal bucket. Being metal bucket deprived, we purchased ours at Tractor Supply for a nominal cost. Collect a few branches from your yard (or neighbors with permission).Arrange them in the bucket and secure with stones or sand. It adds height and contrasts nicely with your other decorations. We placed ours next to our front door; select a location that best suits your outdoor Christmas decor. 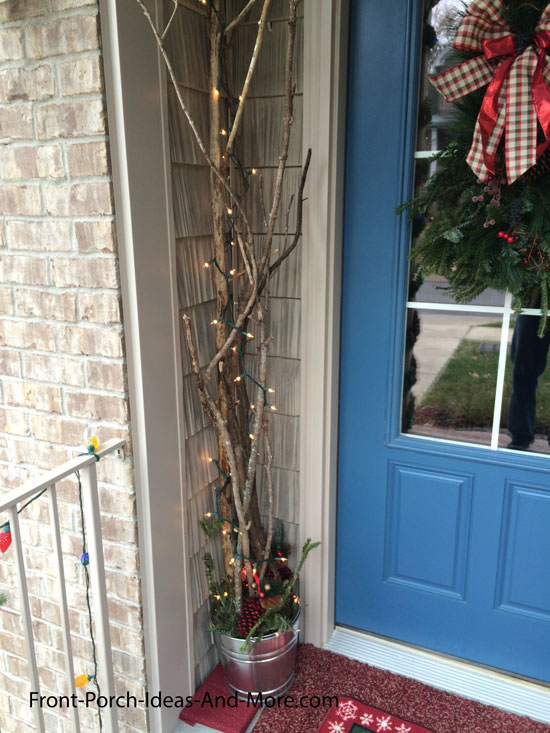
Easy to make outdoor Christmas decoration using branches and a bucketAdd lights and ornaments and you've created not only an outdoor Christmas decoration but also one you can use all winter long.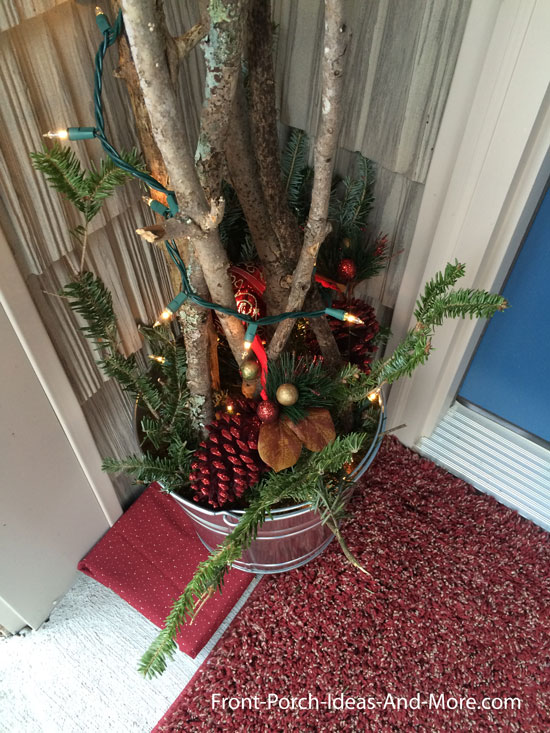
Ornaments and lights add holiday cheer!Back to topOur Christmas Door Decoration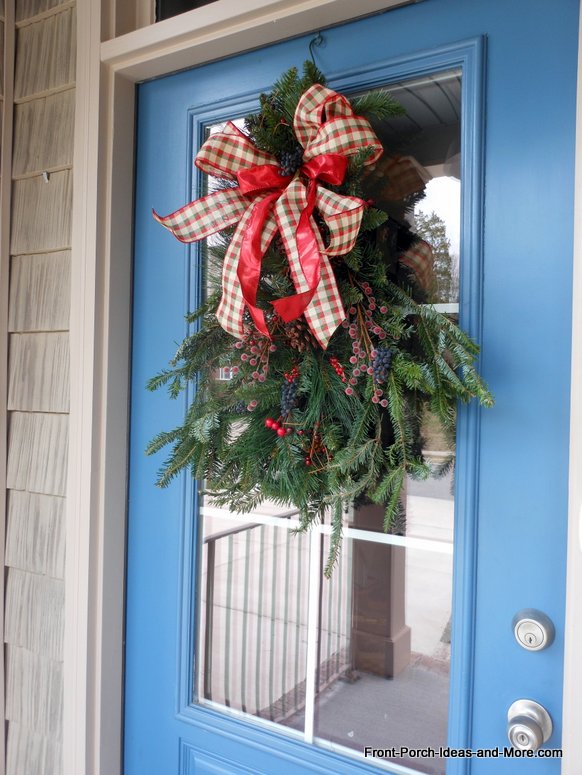
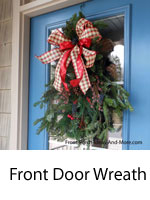
You can easily dress up a purchased faux wreath or swag and make it something extra special. 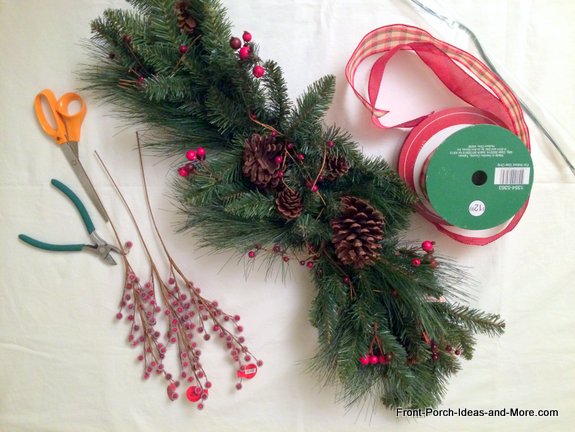
To make a Christmas door decoration like ours, you will need:

We purchased a vertical swag from Hobby Lobby. It was a good starting foundation. Then we wired some fresh greenery to it to make it fuller and more beautiful - plus it smells wonderful. We tucked in a few holiday picks and tied a bow. We used two kinds of ribbon for our bow to make it extra nice for the front door. One is a country plaid and the other is a shiny red; they look gorgeous together. 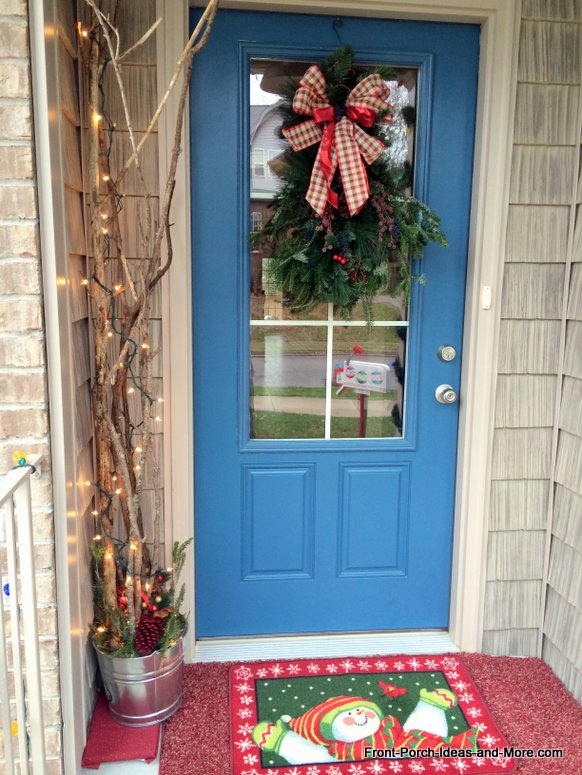
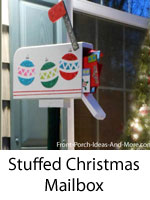
Then hang proudly on your front door. This is a festive door decoration that can be used again next year with fresh greenery. Holiday MailboxI used scrap lumber to make this fun holiday mailbox complete with letters and a package. You can easily modify the design and color to suit your own preferences. Display it in the yard or on your front porch.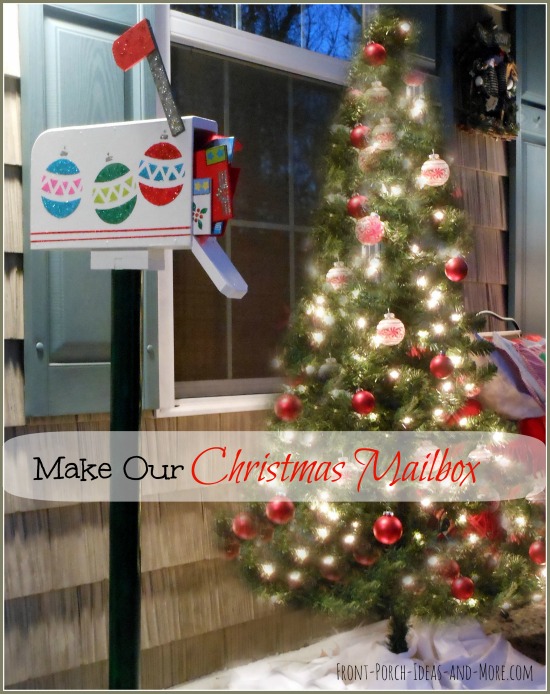
Our mailbox decoration is packed with holiday cheer!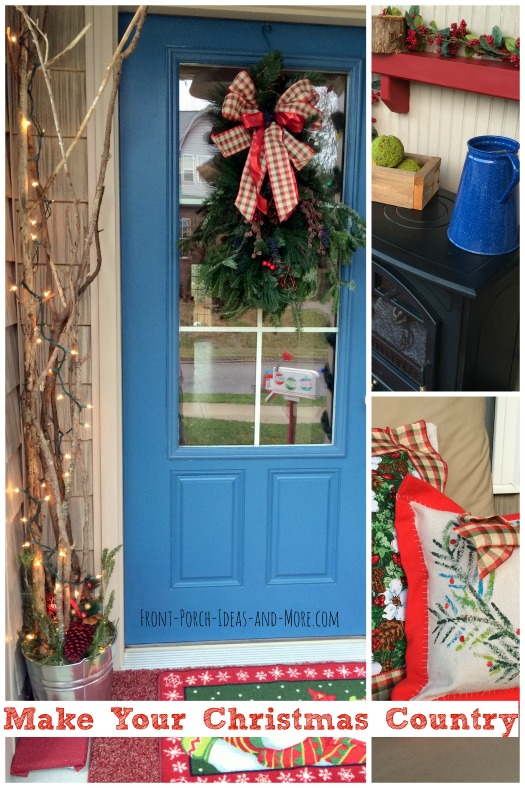
Hope Mary and I gave you some inspiration to make outdoor Christmas decorations for your own home and porch. We hope you enjoyed these projects and encourage you make some outdoor Christmas decorations for your front porch and yard. Be sure to explore a few more of our fun decorating ideas below.

Hi! We're Mary and Dave, lifelong DIYers, high school sweethearts, and we both love porches. You've come to the right place for thousands of porch ideas. Our Sponsors


End Sponsors Helpful LinksEnjoy shopping Amazon (affiliate link)Popular PagesWhat's NewJoin Our Newsletter Family Porch Designs Porch Ideas for Mobile Homes Build a Porch | Small Porches Porch Columns | Porch Railings Screened Porches Porch Curtains | Porch Enclosures Porch Landscaping | Vinyl Lattice Porch Decorating | Porch Ideas Shop Navigation AidsHome | Top of PageSite Search | Site Map Contact Us PoliciesDisclosure Policy | Privacy PolicyLegal Info Please Join Us Here Also
Find a Trusted Local Pro Copyright© 2008-2025 Front-Porch-Ideas-and-More.com All rights reserved. No content or photos may be reused or reproduced in any way without our express written permission. At no extra cost to you, we earn a commission by referring you to some products on merchant sites. See our disclosure policy. We, Front Porch Ideas and More, confirm, as stated on our privacy policy, that we do not sell personal information. All content here is solely for presenting ideas. We recommend consulting with a licensed, experienced contractor before you begin your project. We make no guarantees of accuracy or completeness of information on our site or any links to other websites contained here. Thank you for taking your time to stop by. See what's popular and new here. |

Hi! We're Mary and Dave, lifelong DIYers, high school sweethearts, and we both love porches. You've come to the right place for thousands of porch ideas. --- Cute Mushroom Mug ---
Wouldn't this be an adorable mug for your porch? It's for sale in my Etsy shop! --- Our Wonderful Sponsors ---


--- End Sponsors ---Our Newsletter, Front Porch AppealLearn more!Thank you for being here! |
|||||
|
At no extra cost to you, we earn a commission by referring you to some products on merchant sites. See our disclosure policy.
We, Front Porch Ideas and More, confirm, as stated on our privacy policy, that we do not sell personal information. All content here is solely for presenting ideas. We recommend consulting with a licensed, experienced contractor before you begin your project. We make no guarantees of accuracy or completeness of information on our site or any links to other websites contained here. Front Porch Home | Return to Top Contact Us | About Us | Advertise with Us | Search | Site Map Media | Privacy Policy | Disclosure | Legal Notice | What's New |
||||||
|
No content or photos may be reproduced or copied in any way without our express written permission. | ||||||


